Patio Area Makeover: Building the Privacy Screen – From Evija with Love
I have actually revealed you the expose of our lovely area currently so this post is among the ” how to” posts to reveal you how we in fact produced our stunning outdoor patio location and the personal privacy screen. We have actually been residing in your house now for 4 years and this is the very first time we have an appropriate outdoor patio location. Our huge constructed accompanied the Covid-19 pandemic however we were not going to let it stop us!!!
Shaun and I were both in the house from around 23 March which indicated we might begin constructing early. The only issue was, we did not have all the products we required to develop our dream outdoor patio location so we needed to get a little innovative!
As I discussed in my previous post we were intending on beginning the work over Easter. Shaun had actually currently made strategies to work with a tiny digger to do the foundations for the outdoor patio location. With lockdown in location we considered digging it by hand. We quickly ditched the concept!!
We sort of left it for a couple of weeks. Then a catastrophe struck when among our our drains pipes got so obstructed up, the water would not decrease at all and the entire course flooded ( true blessing in camouflage as it ended up) Long story short, after a couple of call (consisting of the Island of Guy Federal government and the regional cops), Shaun handled to organize a tiny digger for one day to figure out the drain (emergency situation work was enabled– likewise note we remain in the Island of Guy so the guidelines are a little various over here!). As we had the digger for 24 hr, Shaun handled to figure out the drain, change the pipeline along with “ rapidly” remove the premises for the outdoor patio location ( post on pieces and how we produced the foundations will follow).
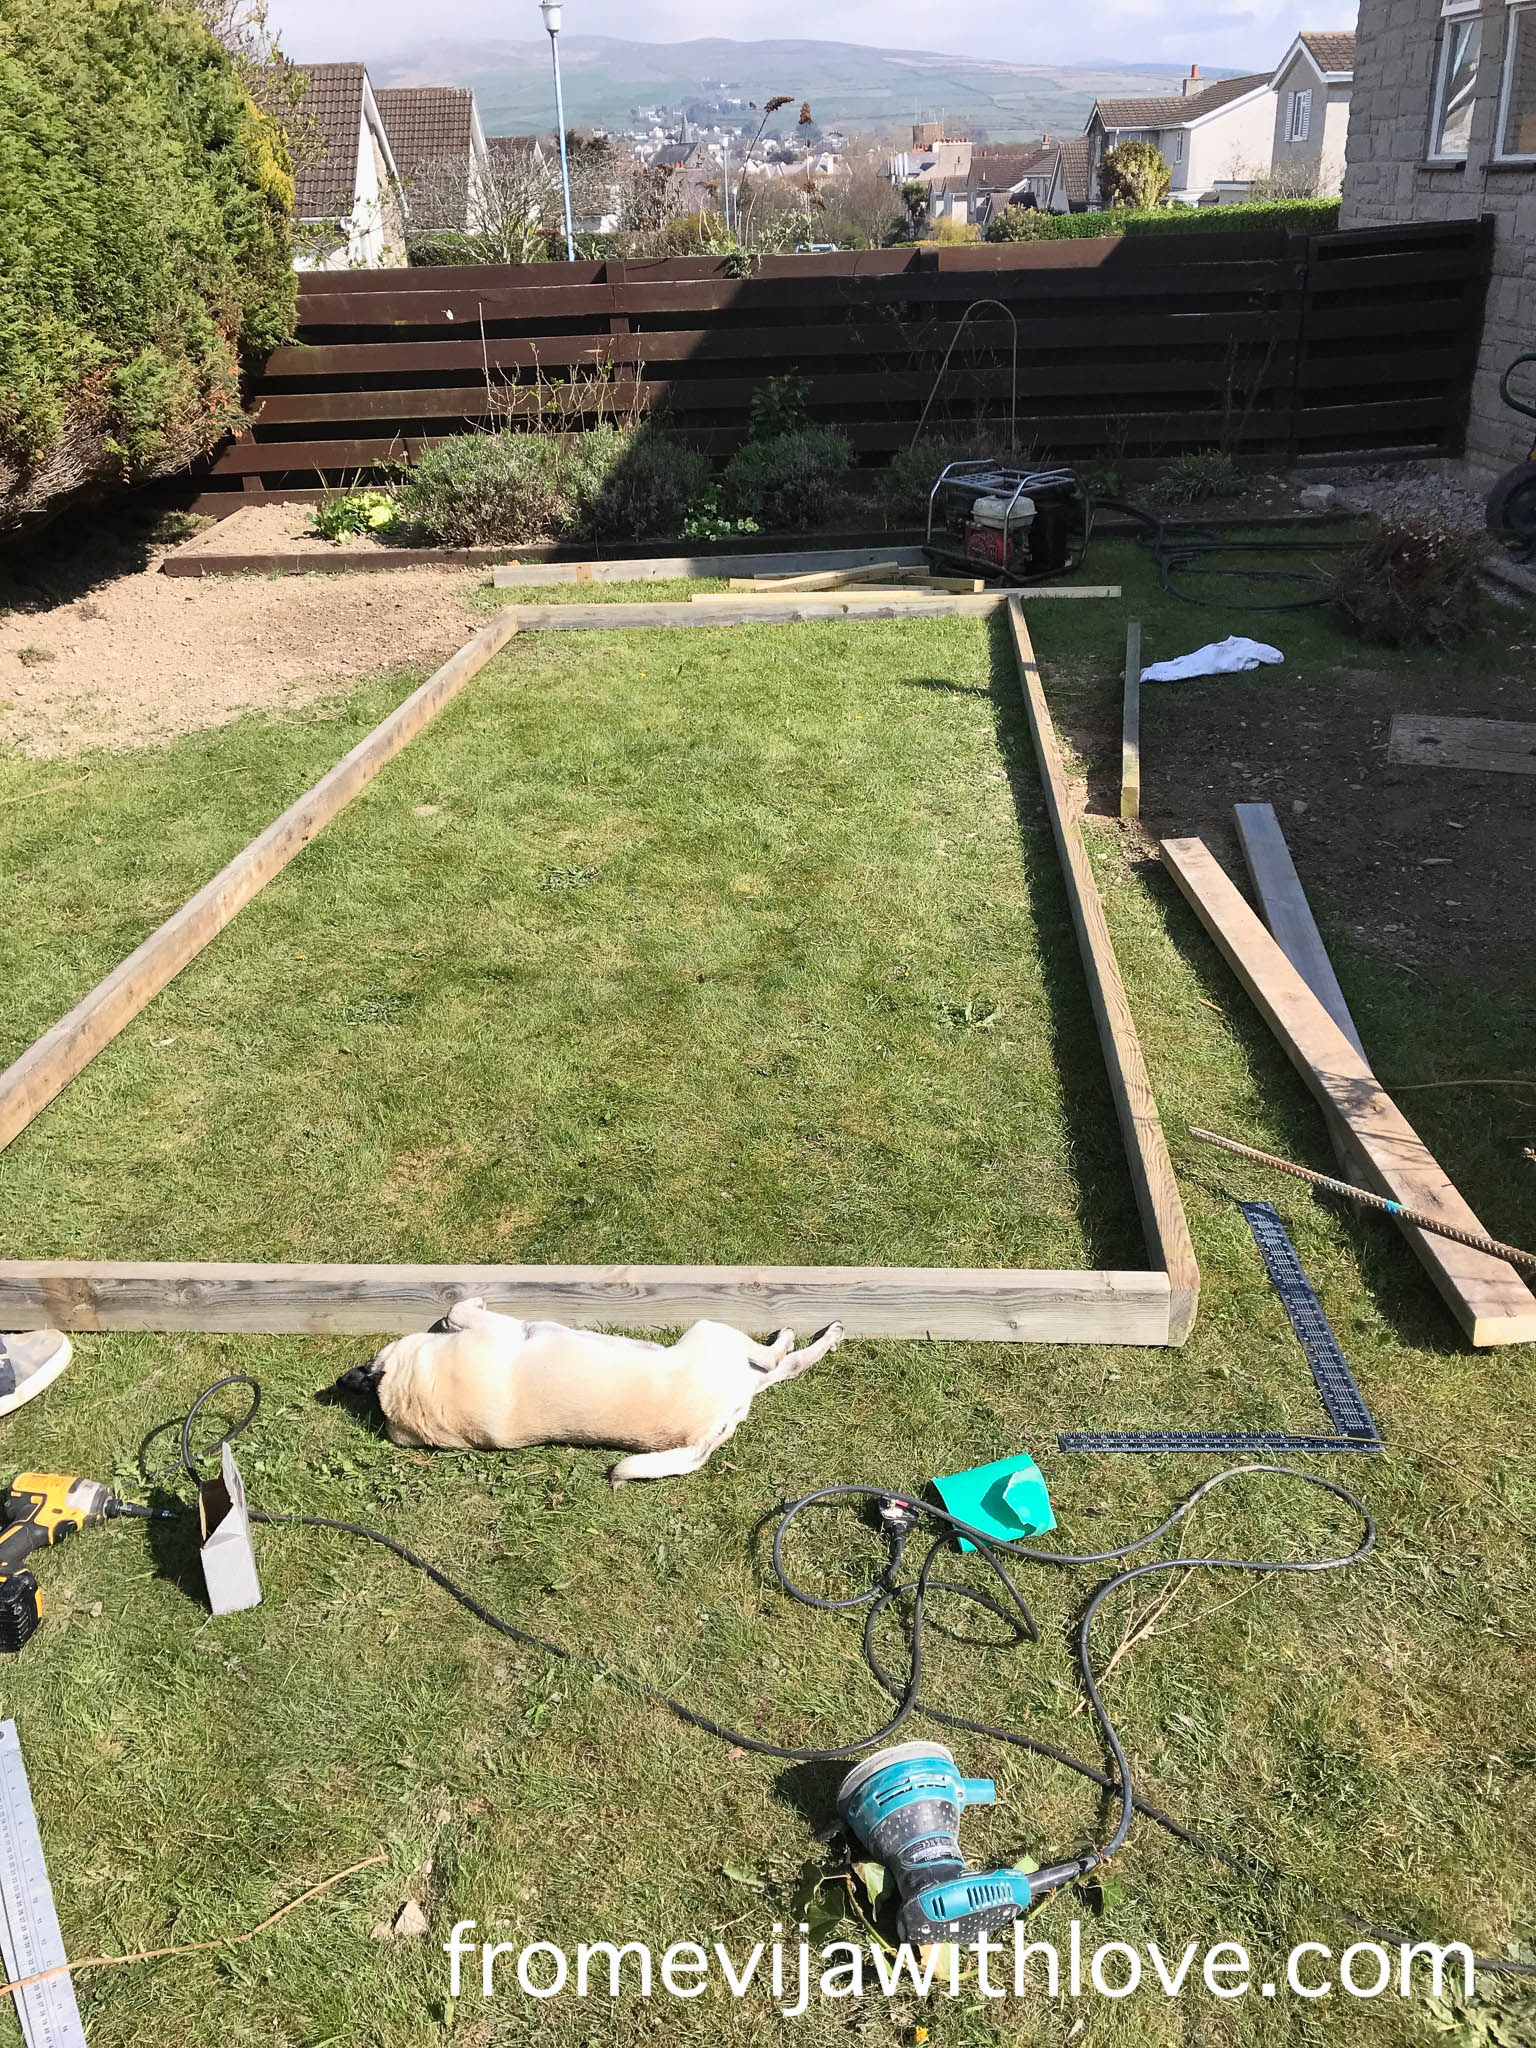
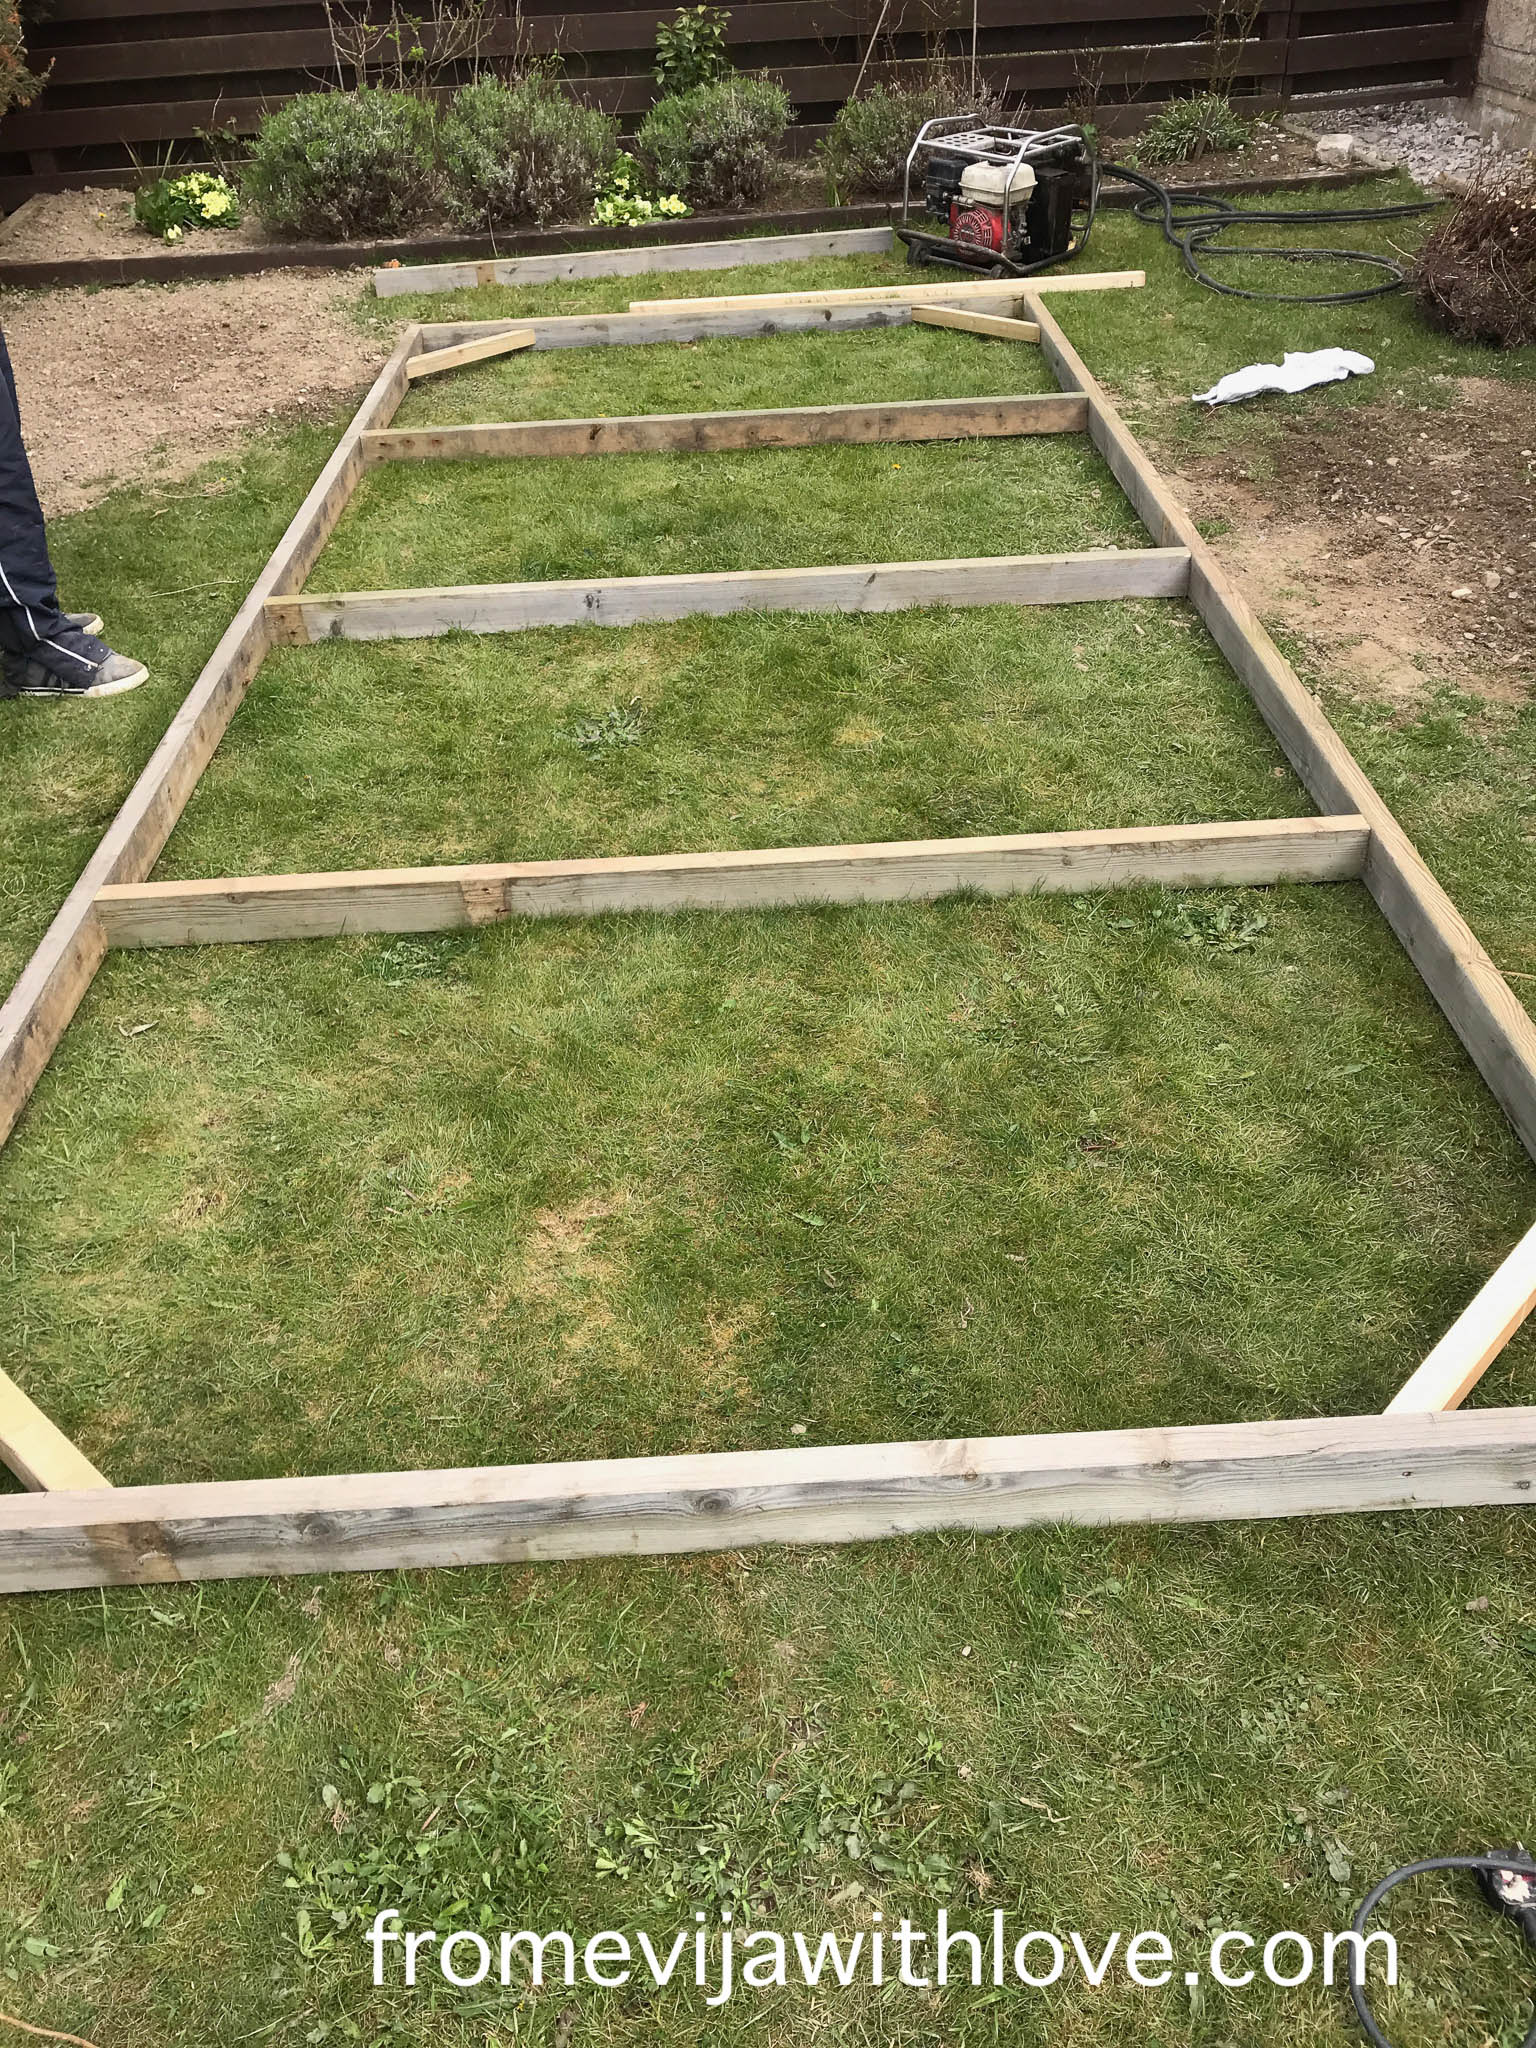
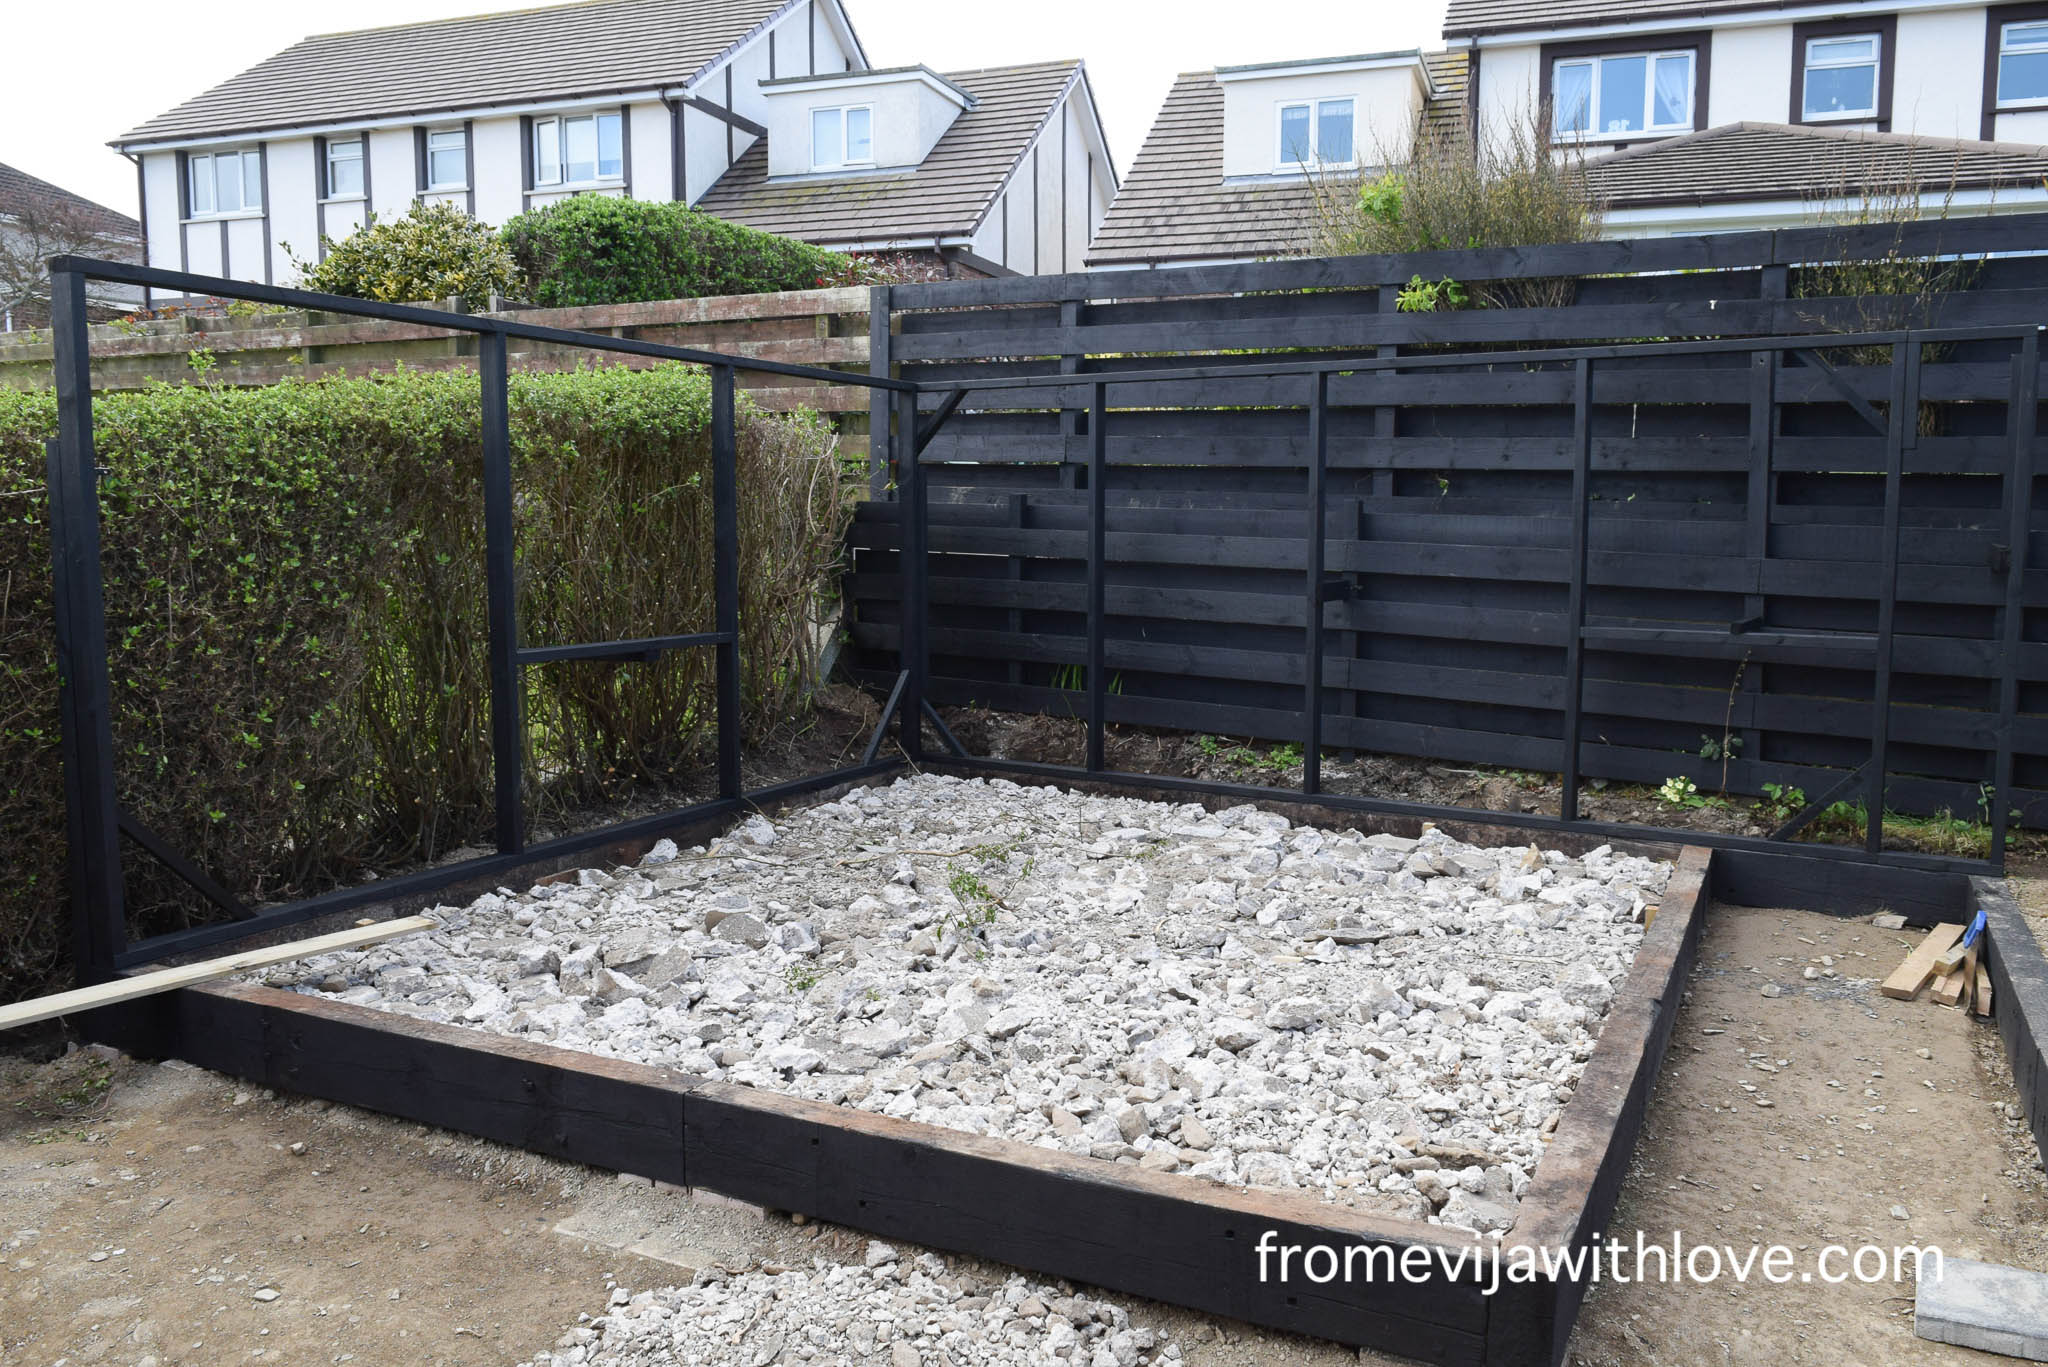
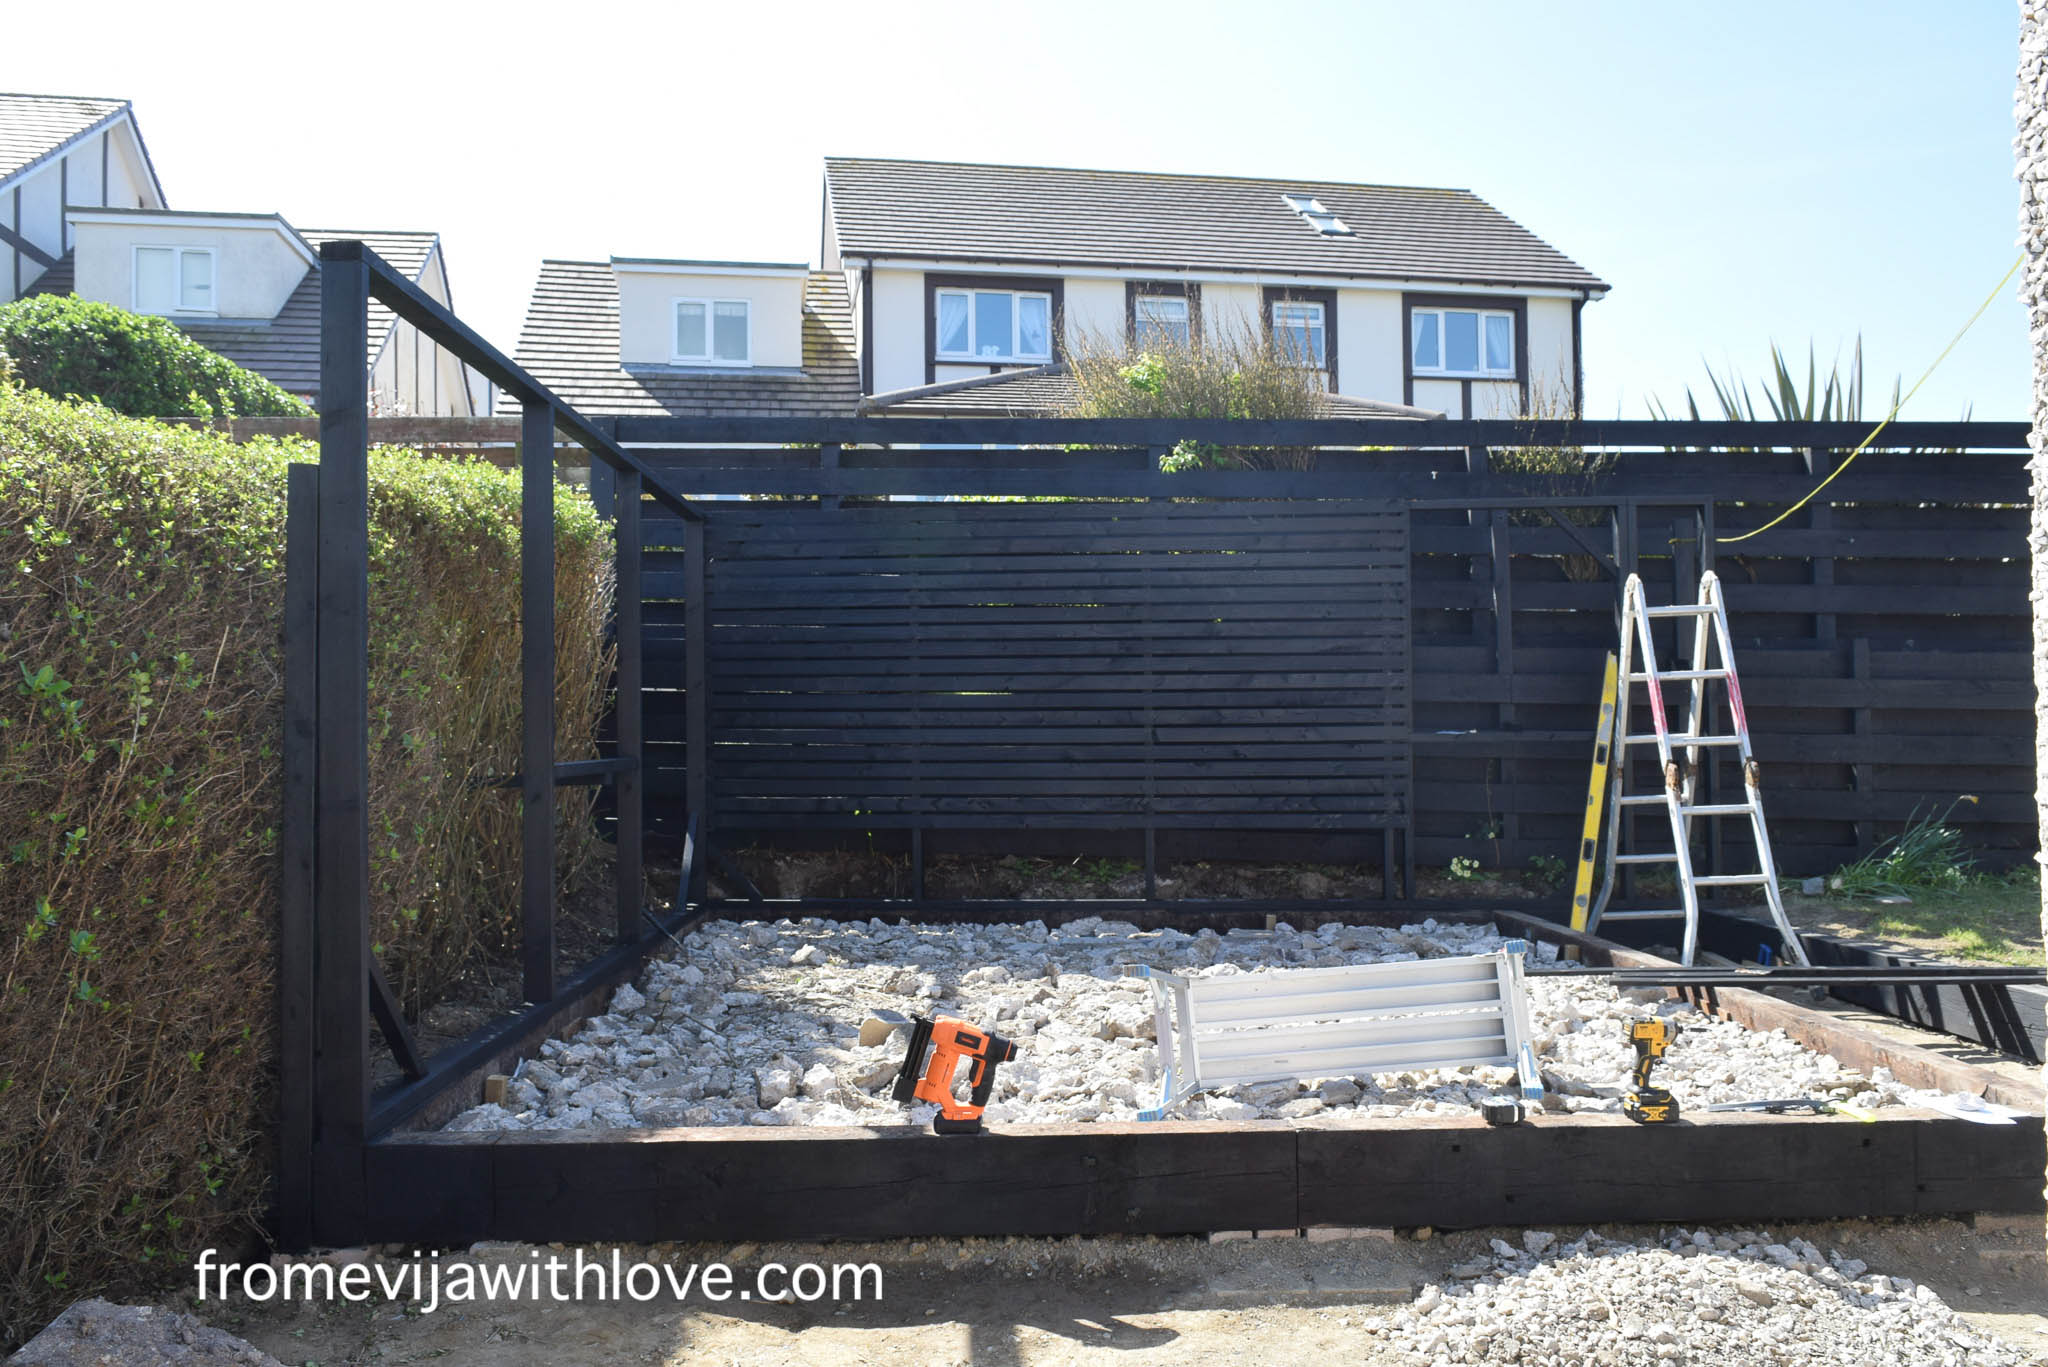
We determined the location and exercised the size of the frames for the personal privacy screen. We utilized 4 × 2 lumber to develop the structure on the lawn. To make sure the frames were strong we included some additional woods in the middle (this would likewise permit us to repair the screen batting in location also).
We brought the frames and repaired them in location and connected them to the base utilizing wood screws. We likewise connected the frame to the fence posts to make them stronger. When the wood batting was connected it would likewise include additional weight to the frame, so we needed to make certain the frames were not lightweight and might take the weight.
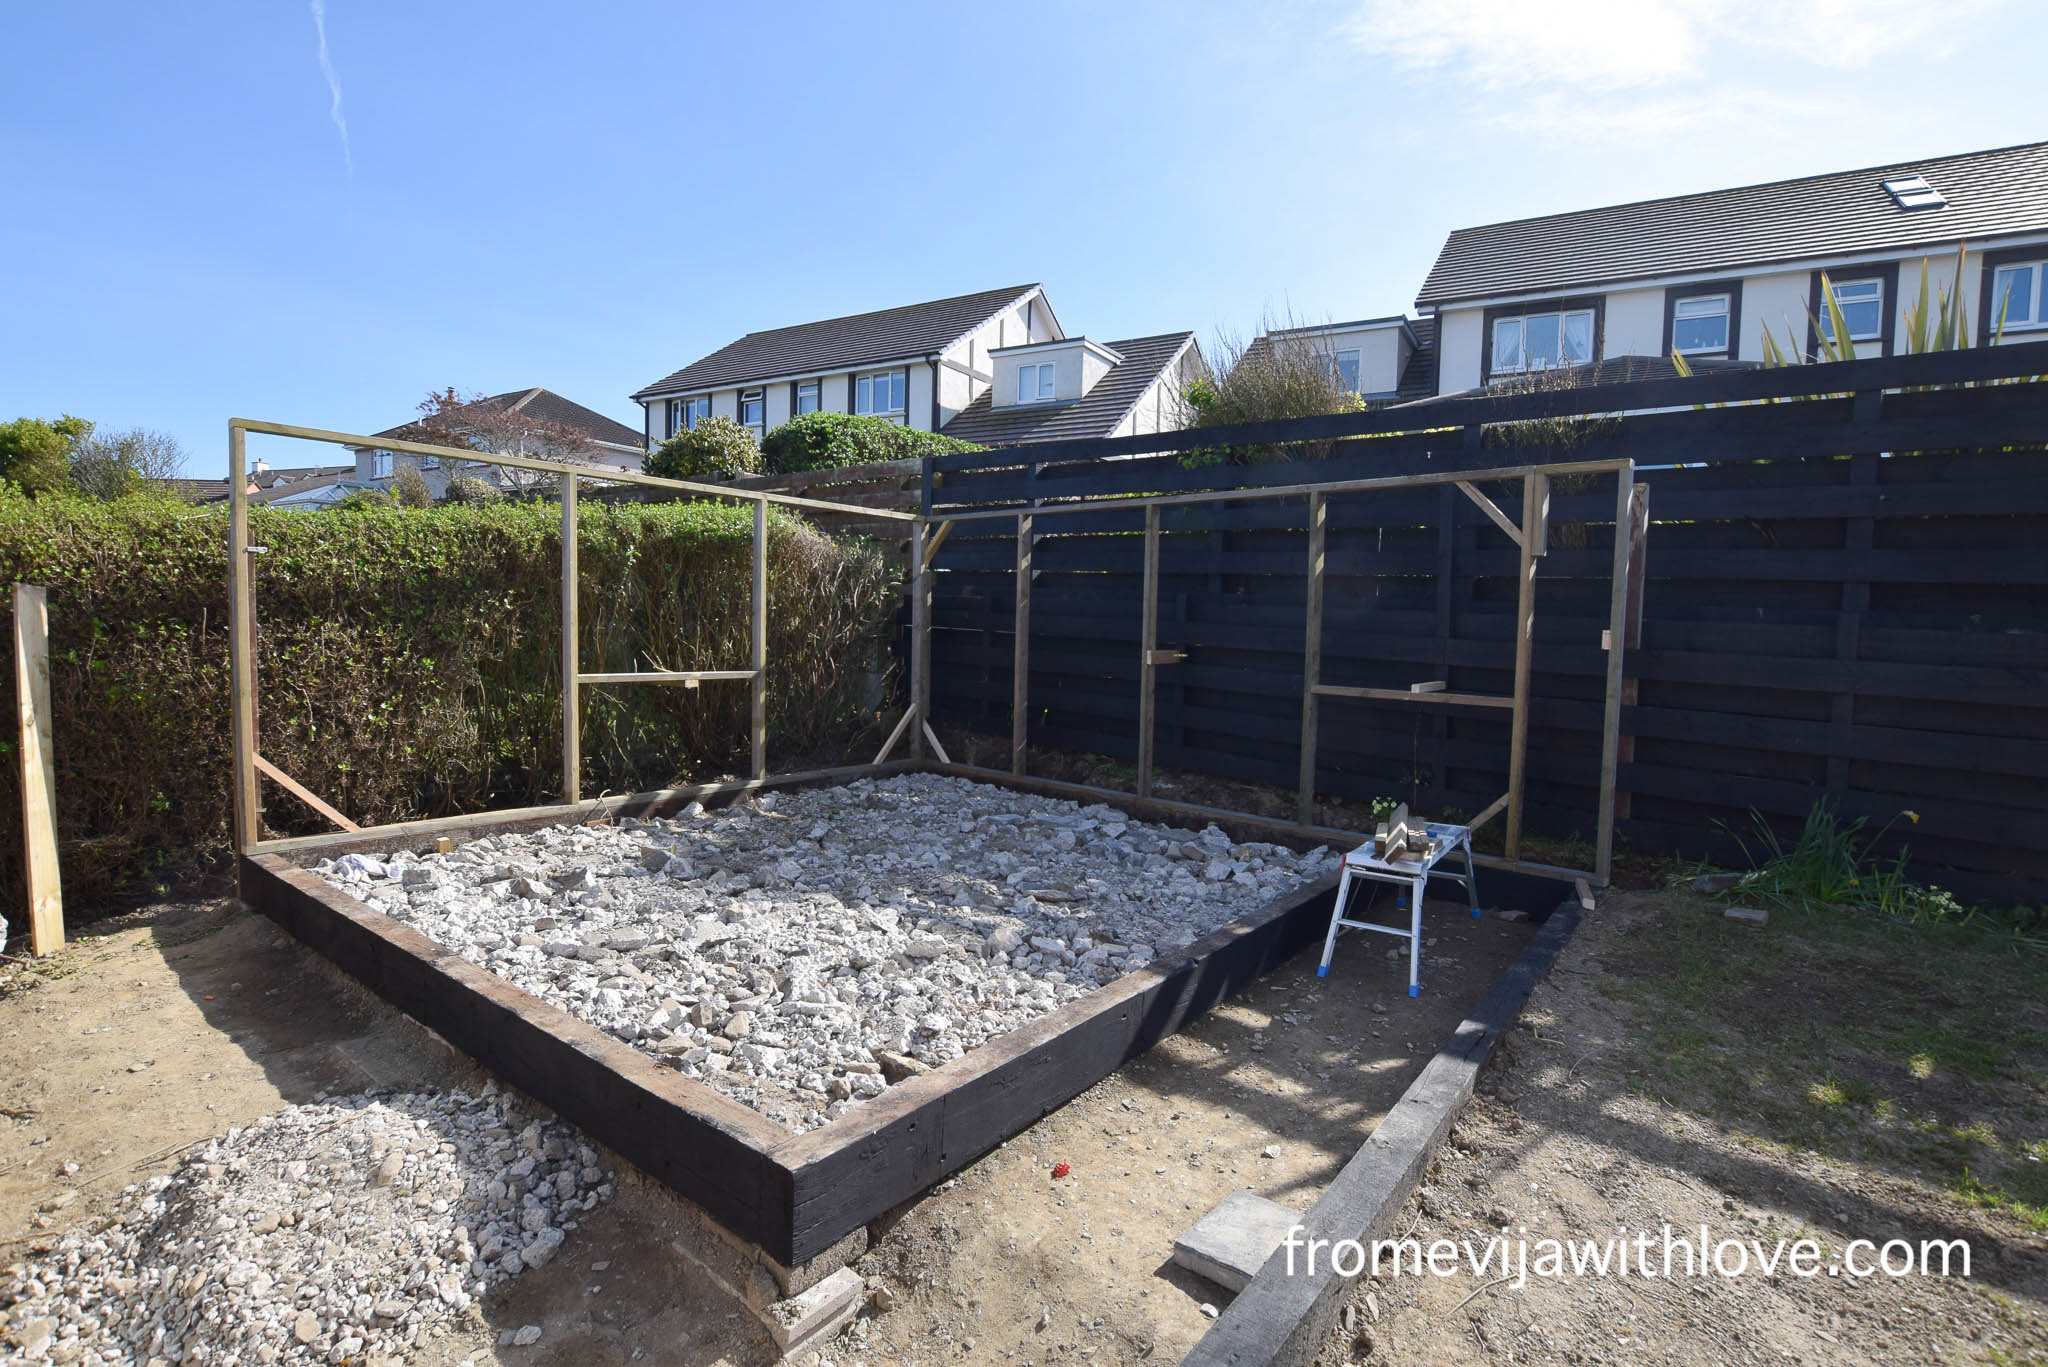
Once the frame was firmly put in location, I painted the structure black prepared for the woods to be connected.
Might have painted the fence and myself at the very same time.

I was trying to find ideal lumber for the personal privacy screen however as a lot of structure merchants were closed and the smooth, planed wood was going to cost us a fortune, we chose to utilize the 6 x 1 fence panels we were going to utilize for the flower beds ( and currently had some in the house). This naturally indicated that to attain the appearance we desired we required to prepare the wood. This indicated we would initially need to aircraft each strip of wood and after that cut them to size!
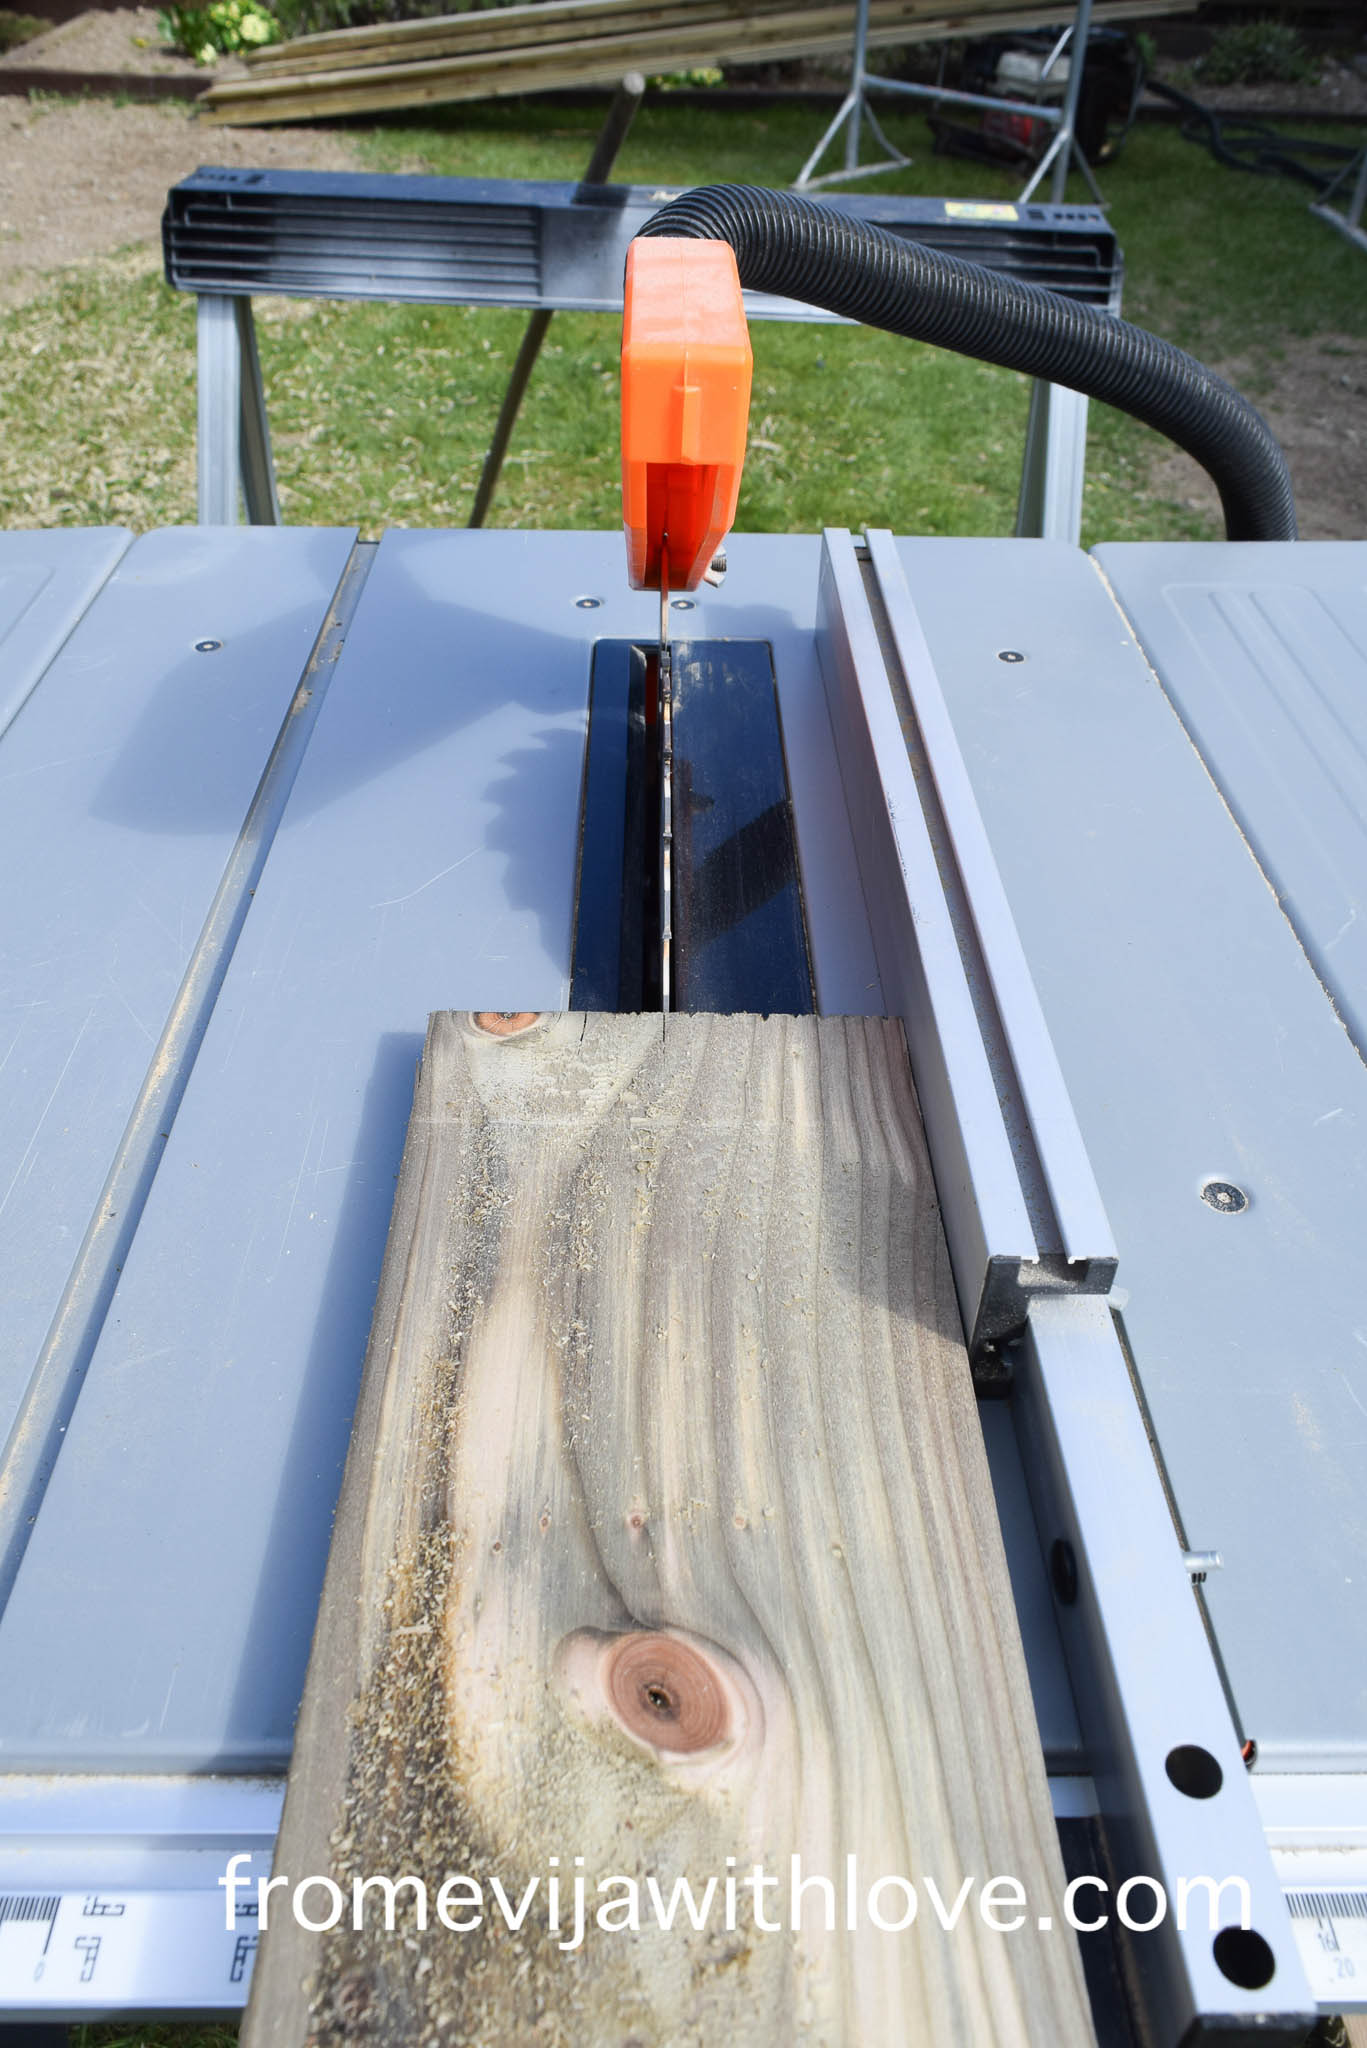
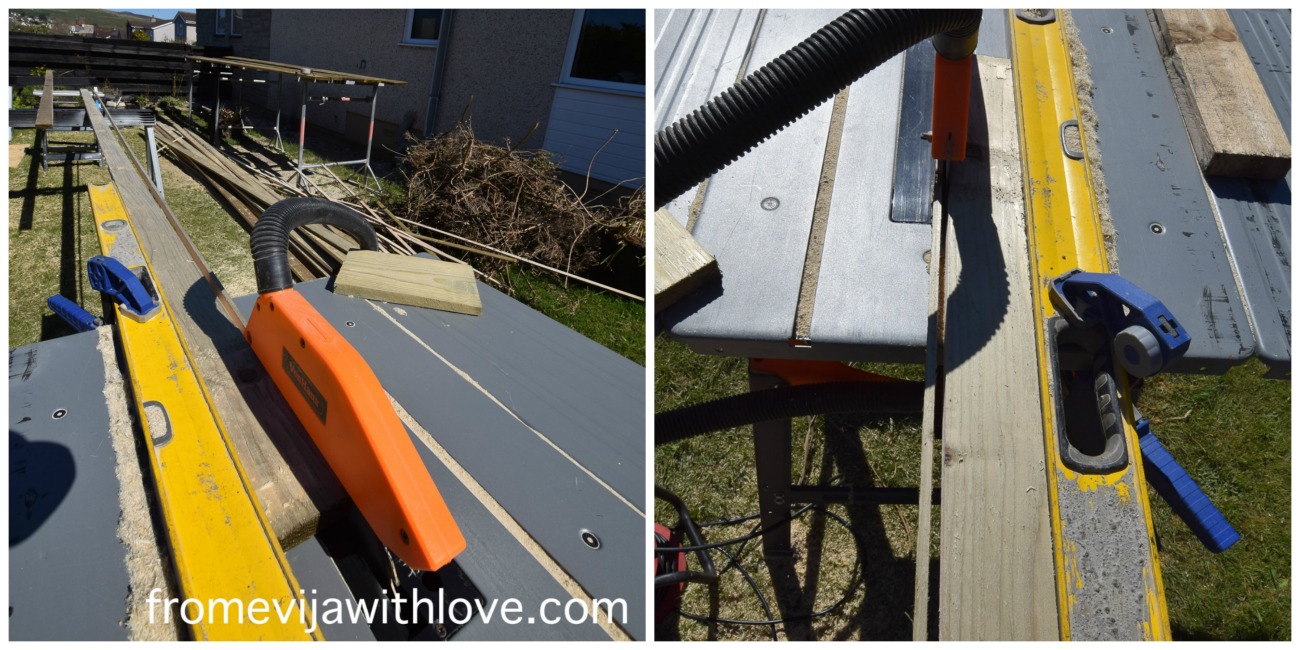
Well it worked out up until we go out lumber (we understood this would take place). By now some garden centres were open and did shipments, so we purchased some more 6 × 1 lumber from the regional garden centre. The wood showed up however it was a little thicker and larger than the one we utilized prior to … More work for us once again, however we were figured out so we began planing the lumber utilizing our thicknesser. After a couple of lengths, the maker quit and quit working!!!! ARGH!!!!
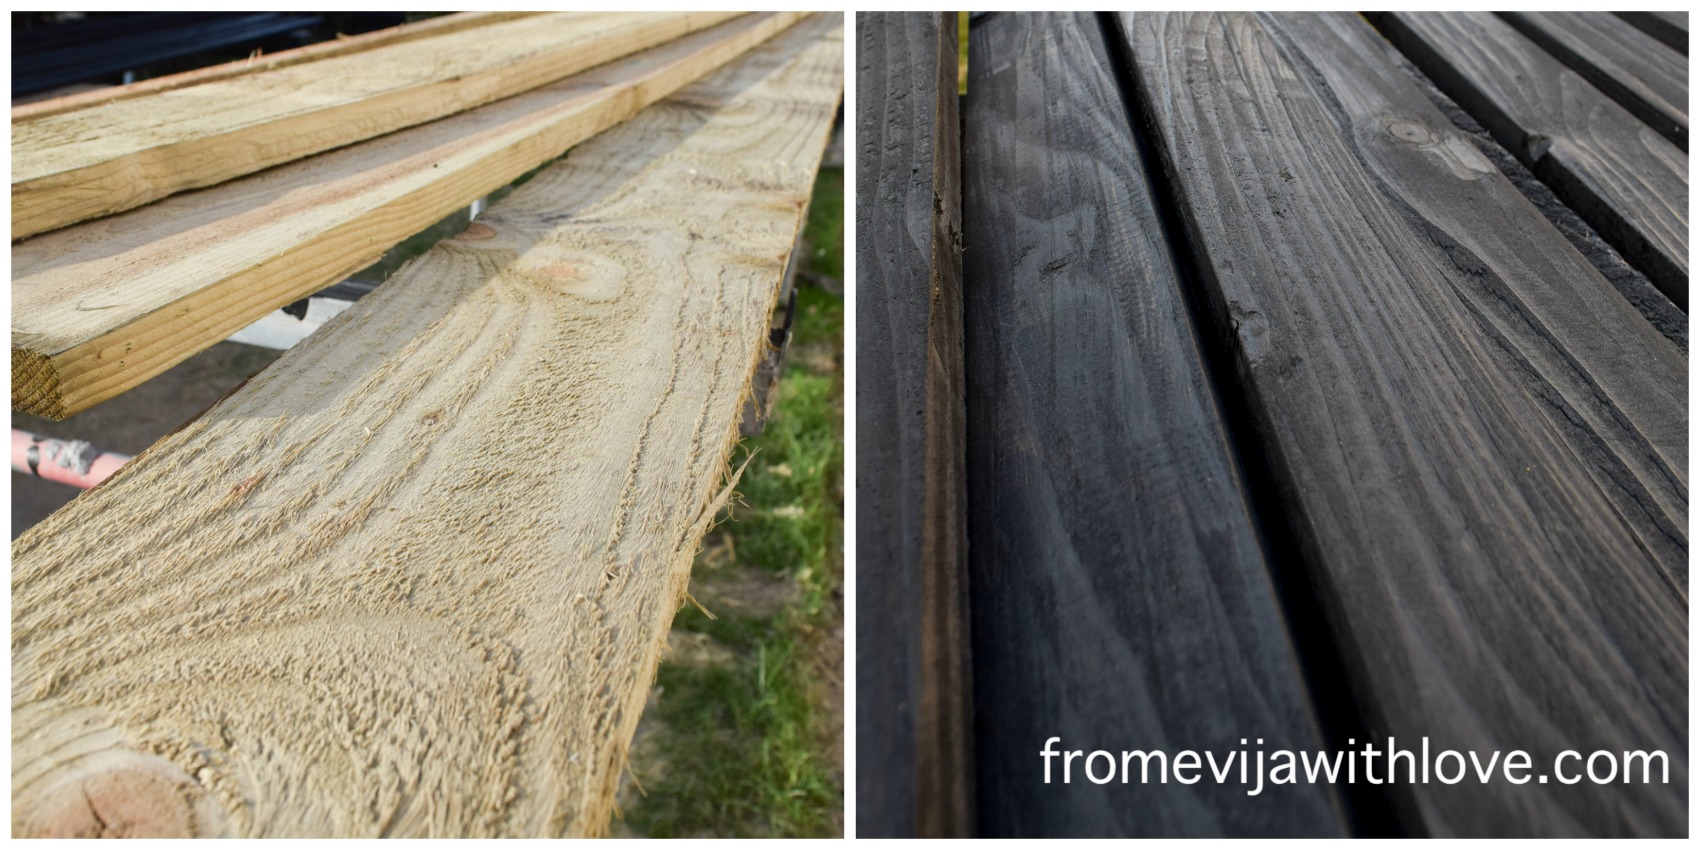
I wound up utilizing the excellent old planer and had do it by hand, then sand sand sand!!! I sympathized with our neighbours !!
As I discussed, the 2nd batch of wood was a little larger so we wound up cutting each piece two times! It was a job and a half as we purchased 4.8 m lengths!
When planed, sanded and sufficed was time for the wood strips to be painted. We utilized Cuprinol fence paint to paint the strips of wood prior to we connected them to the frame.

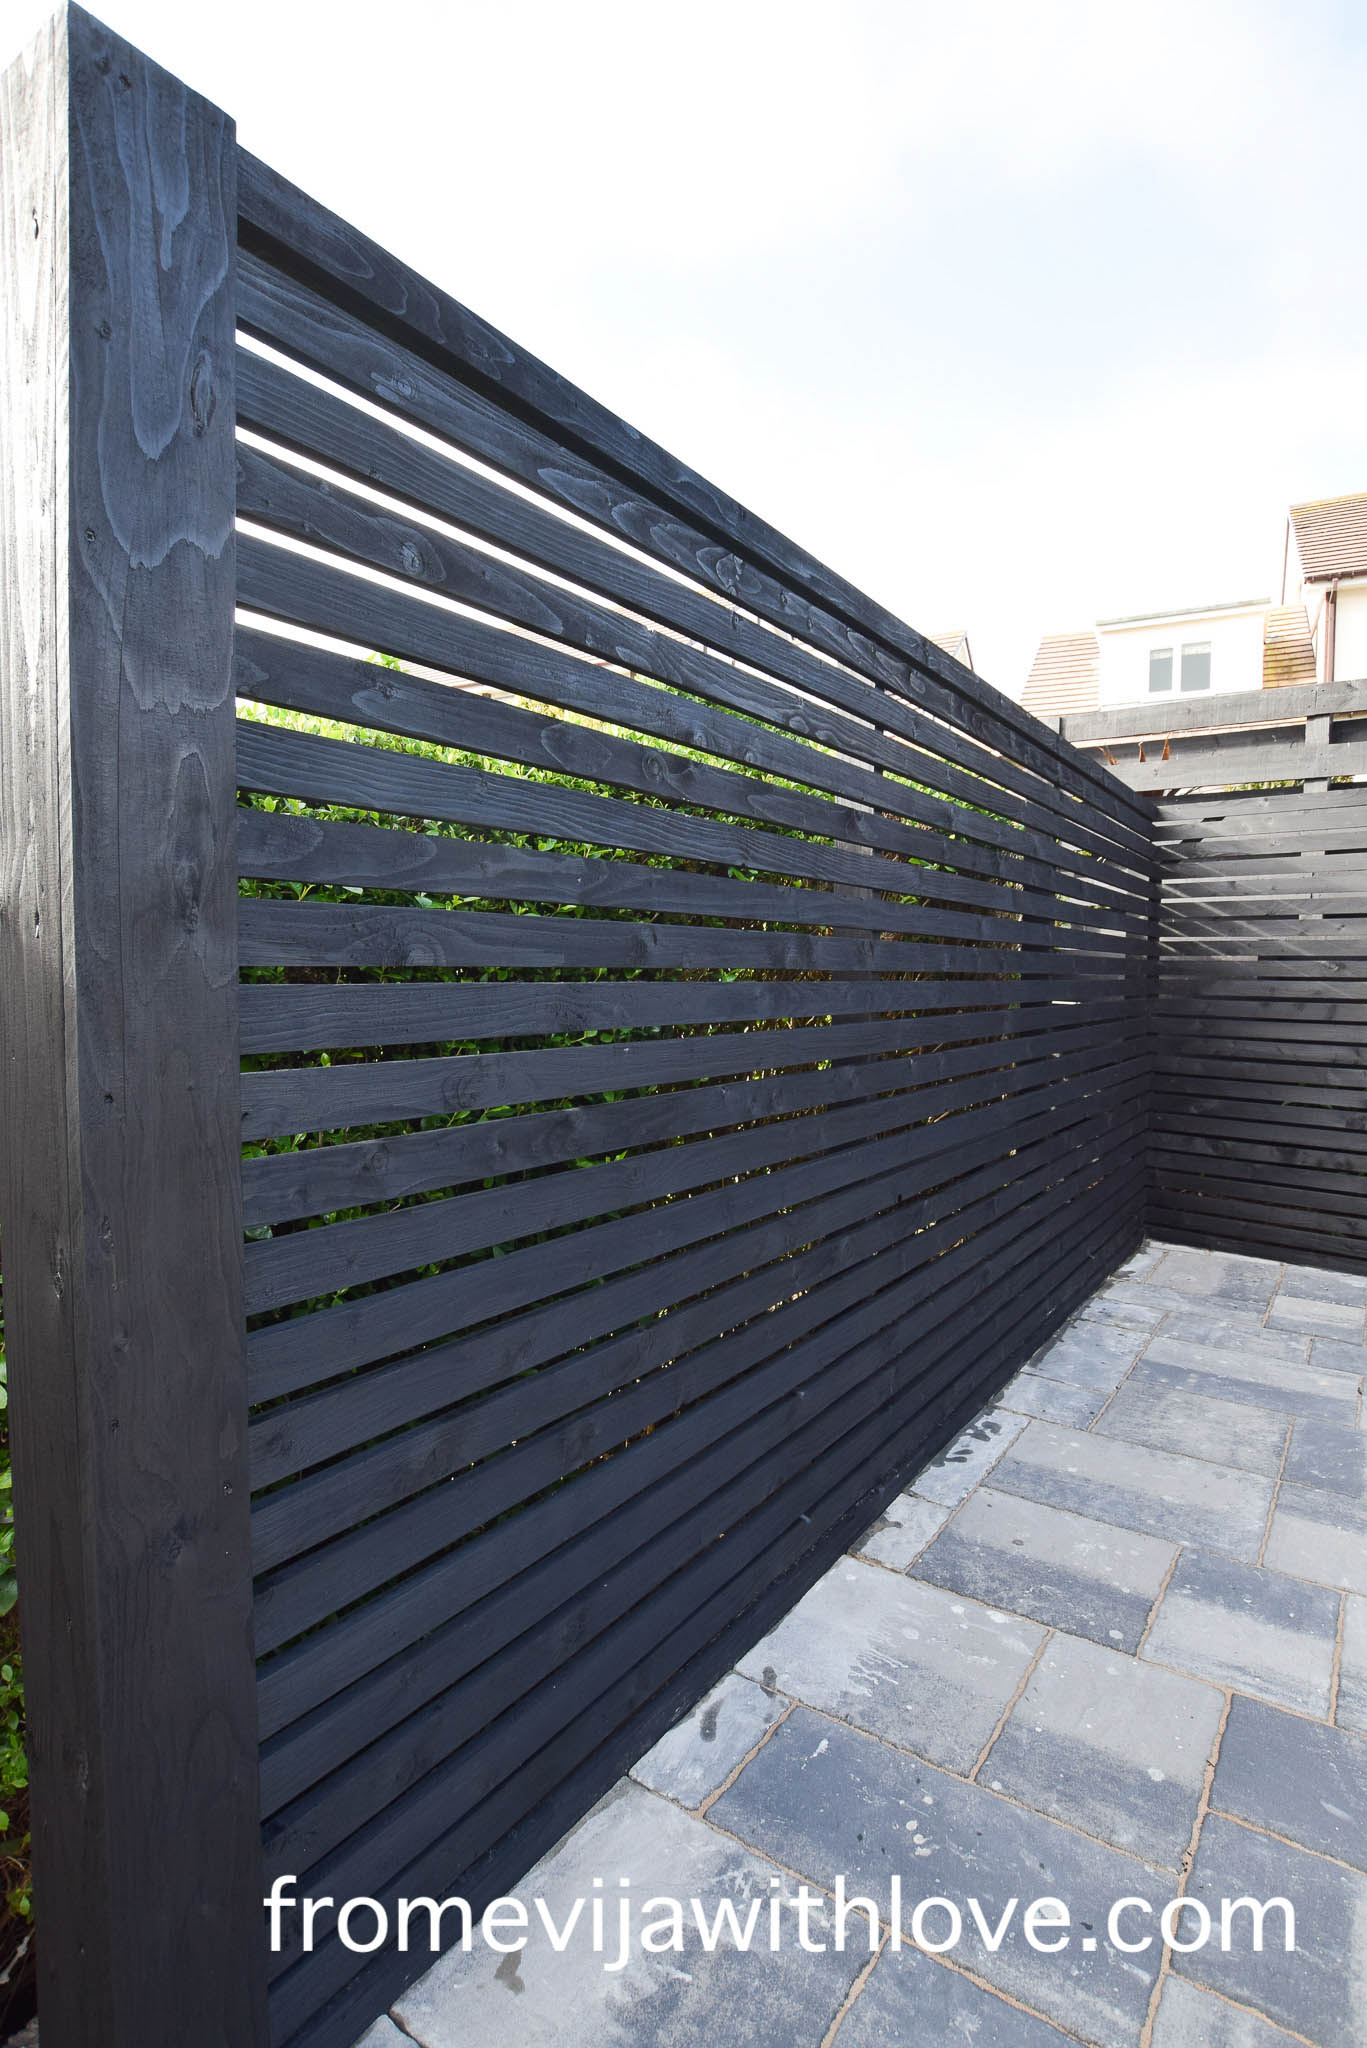
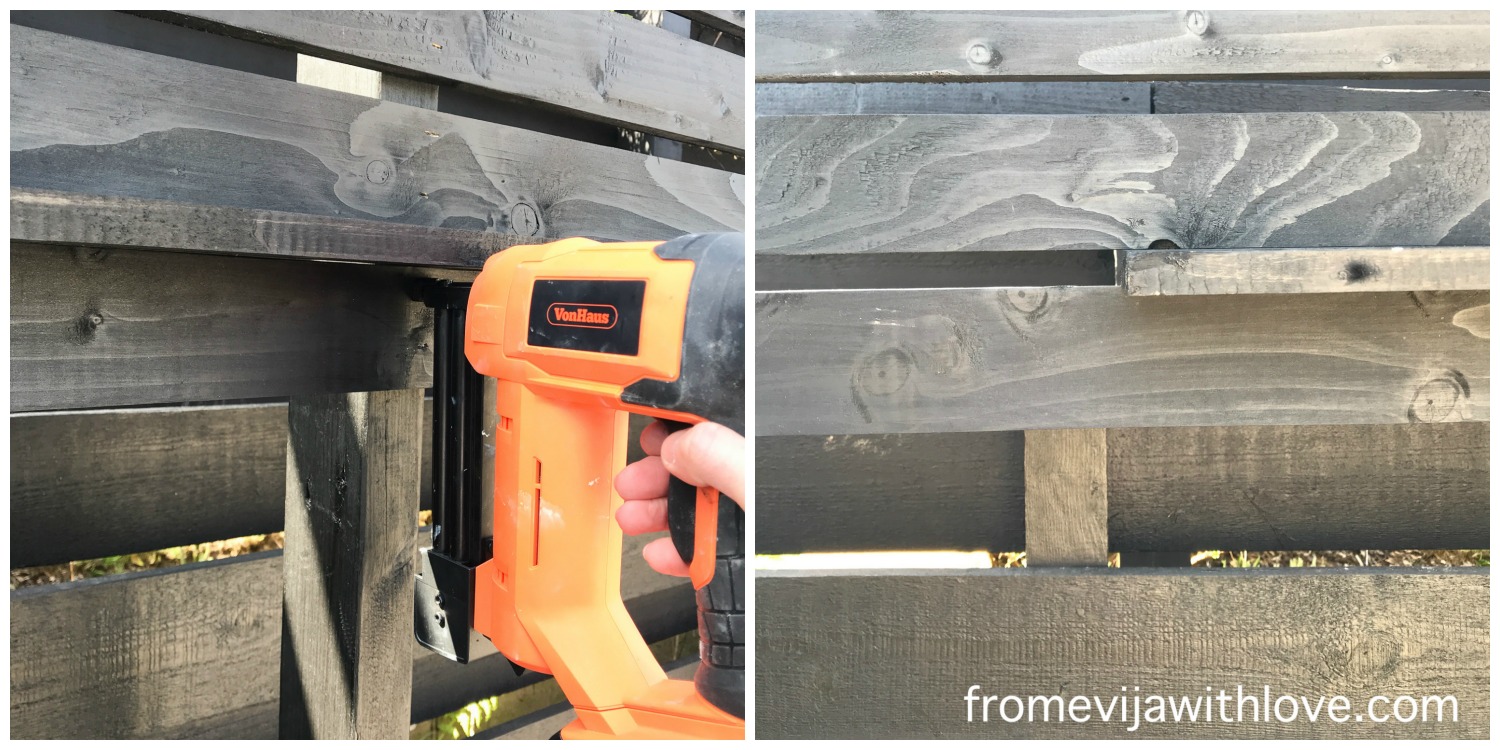
Once the wood strips were painted and dry, we connected them to the screen utilizing a nail weapon. We began with the complement the screen and utilized a level to make sure the very first lumber was repaired in location and was level. To connect the next lumber we worked our method down.
We utilized a wood strip as a guide on the size of the spaces we desired. To make certain each strip was level, we inspected and checked prior to pinning the wood in location.
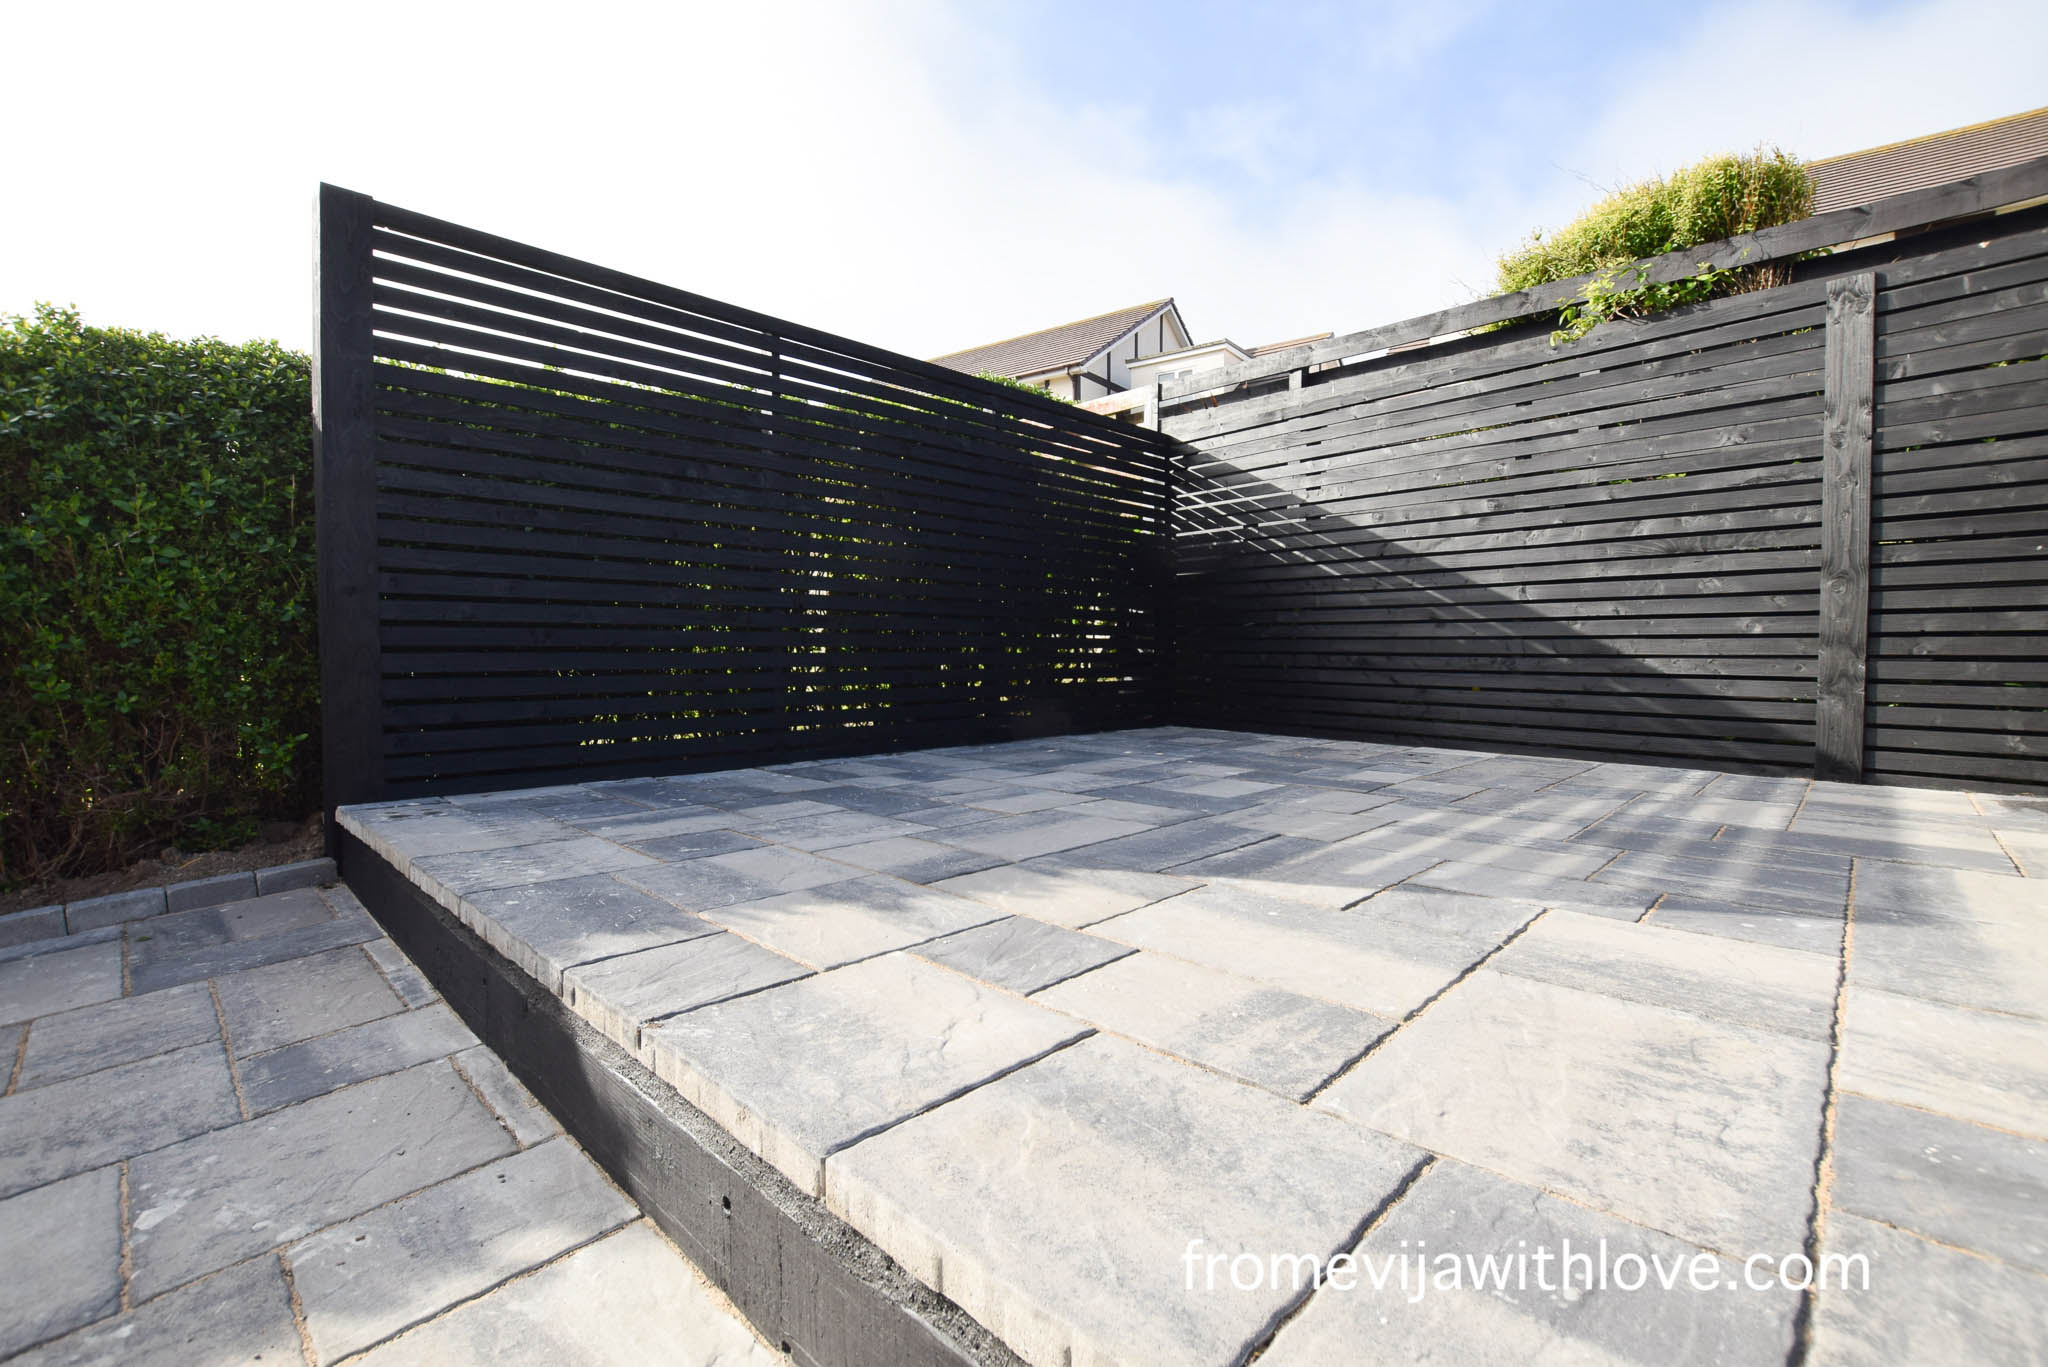
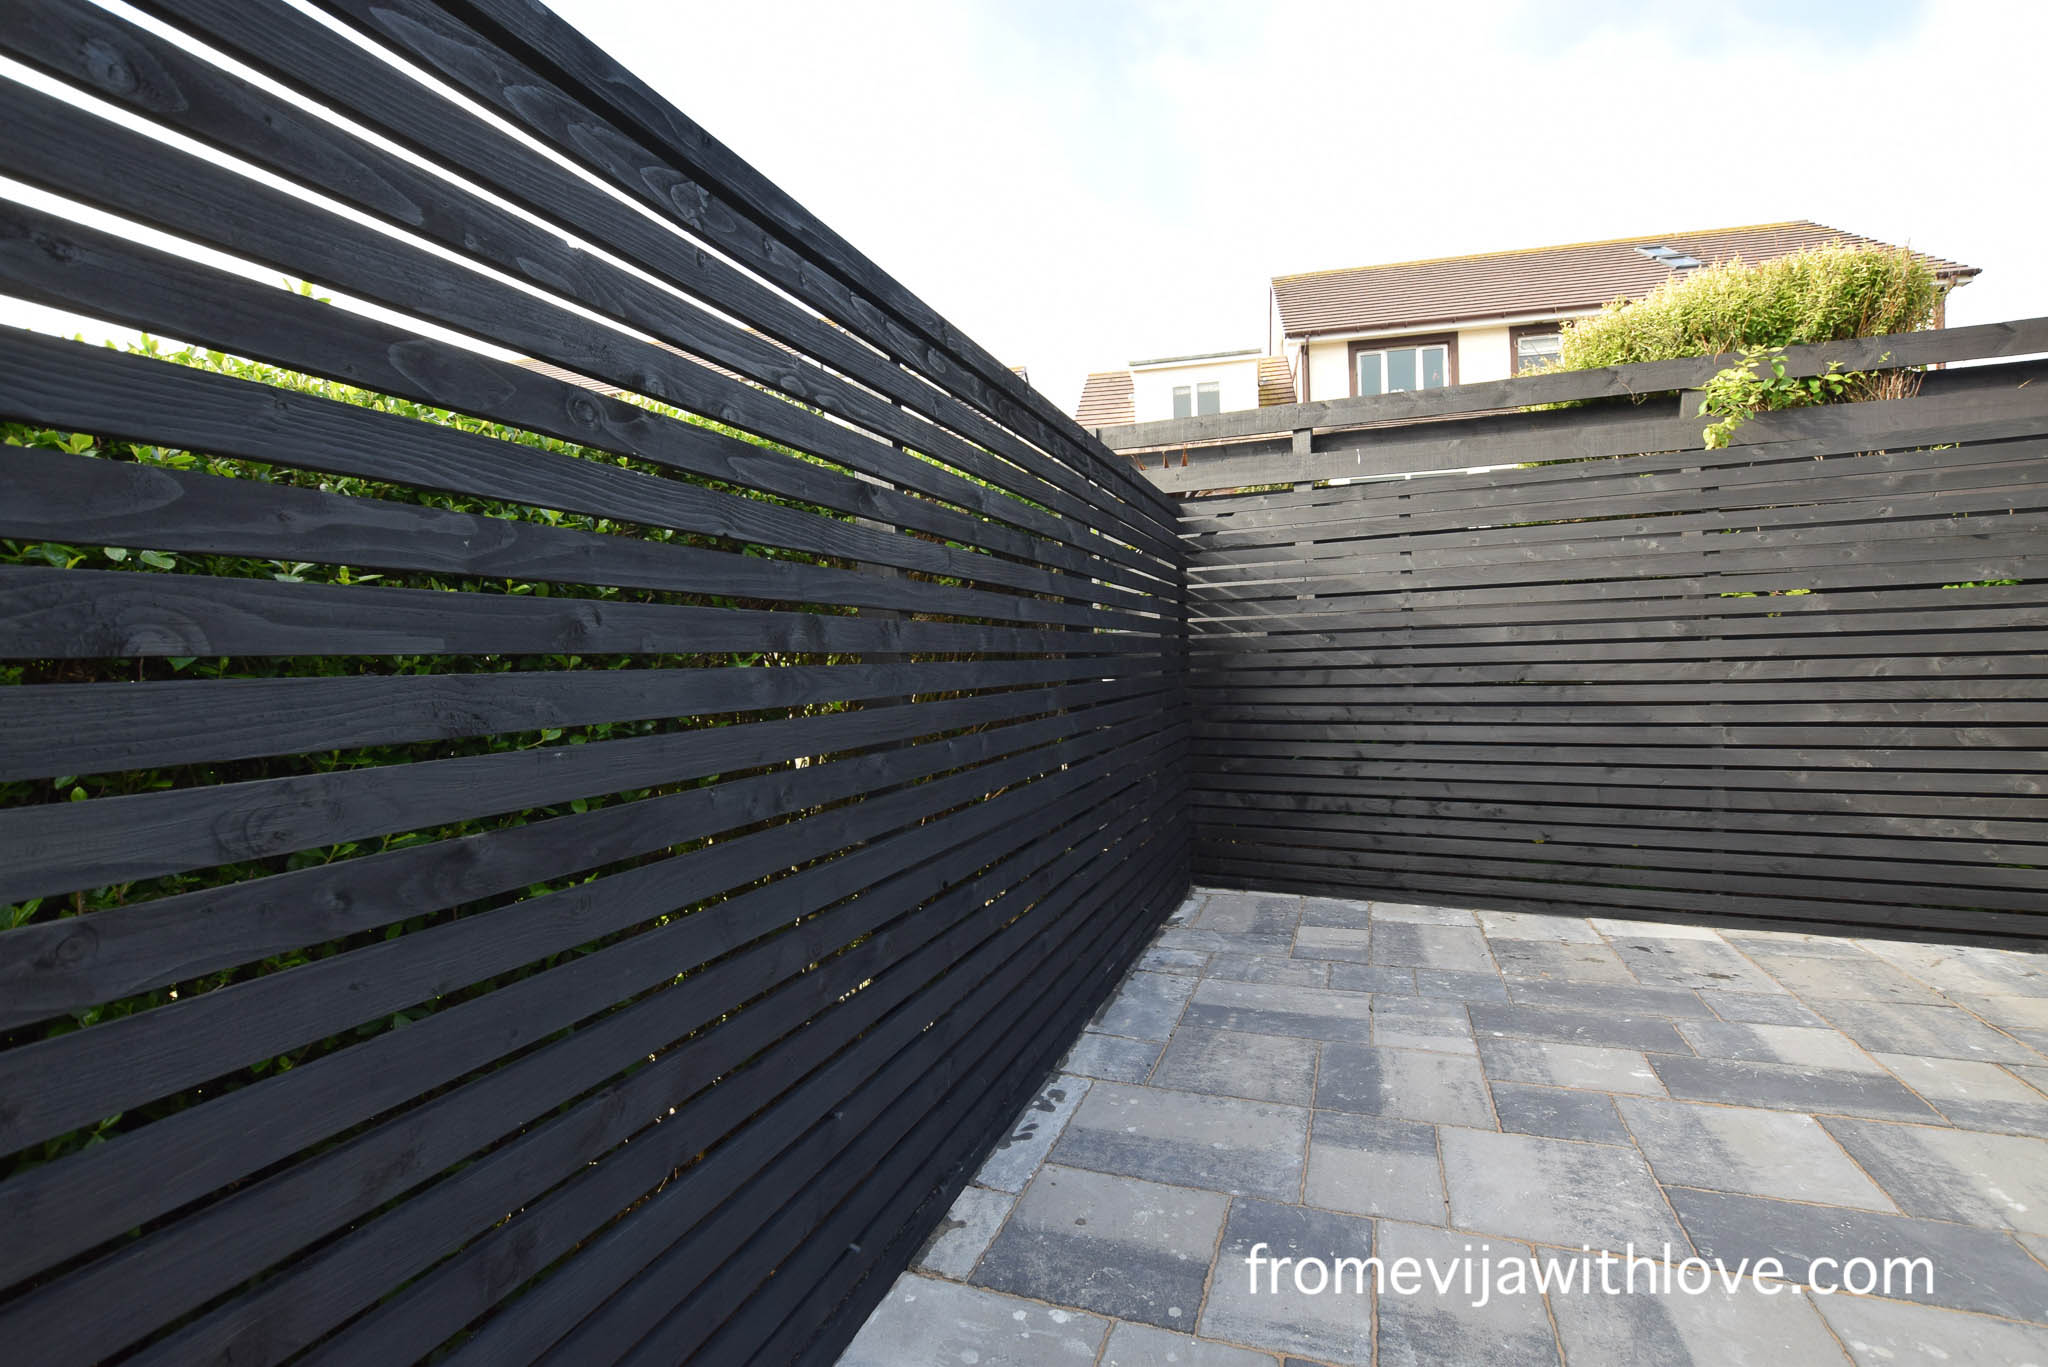
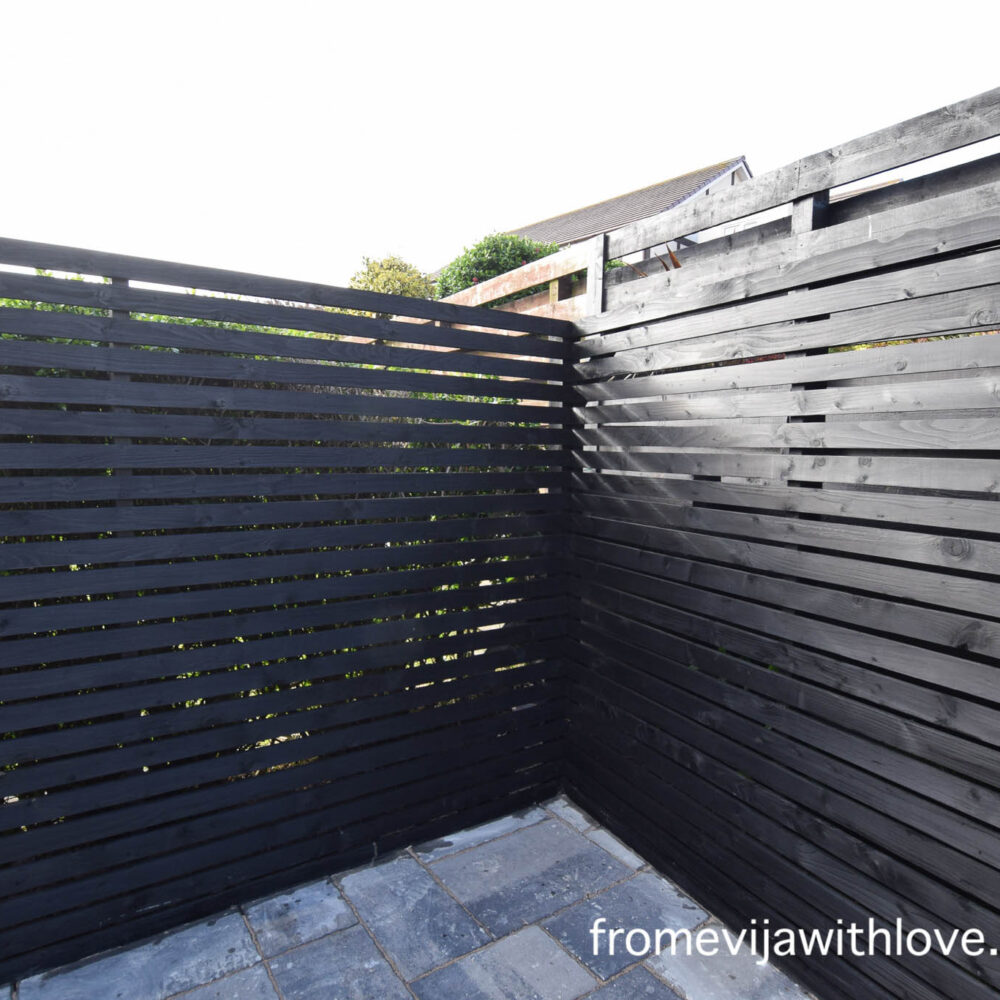
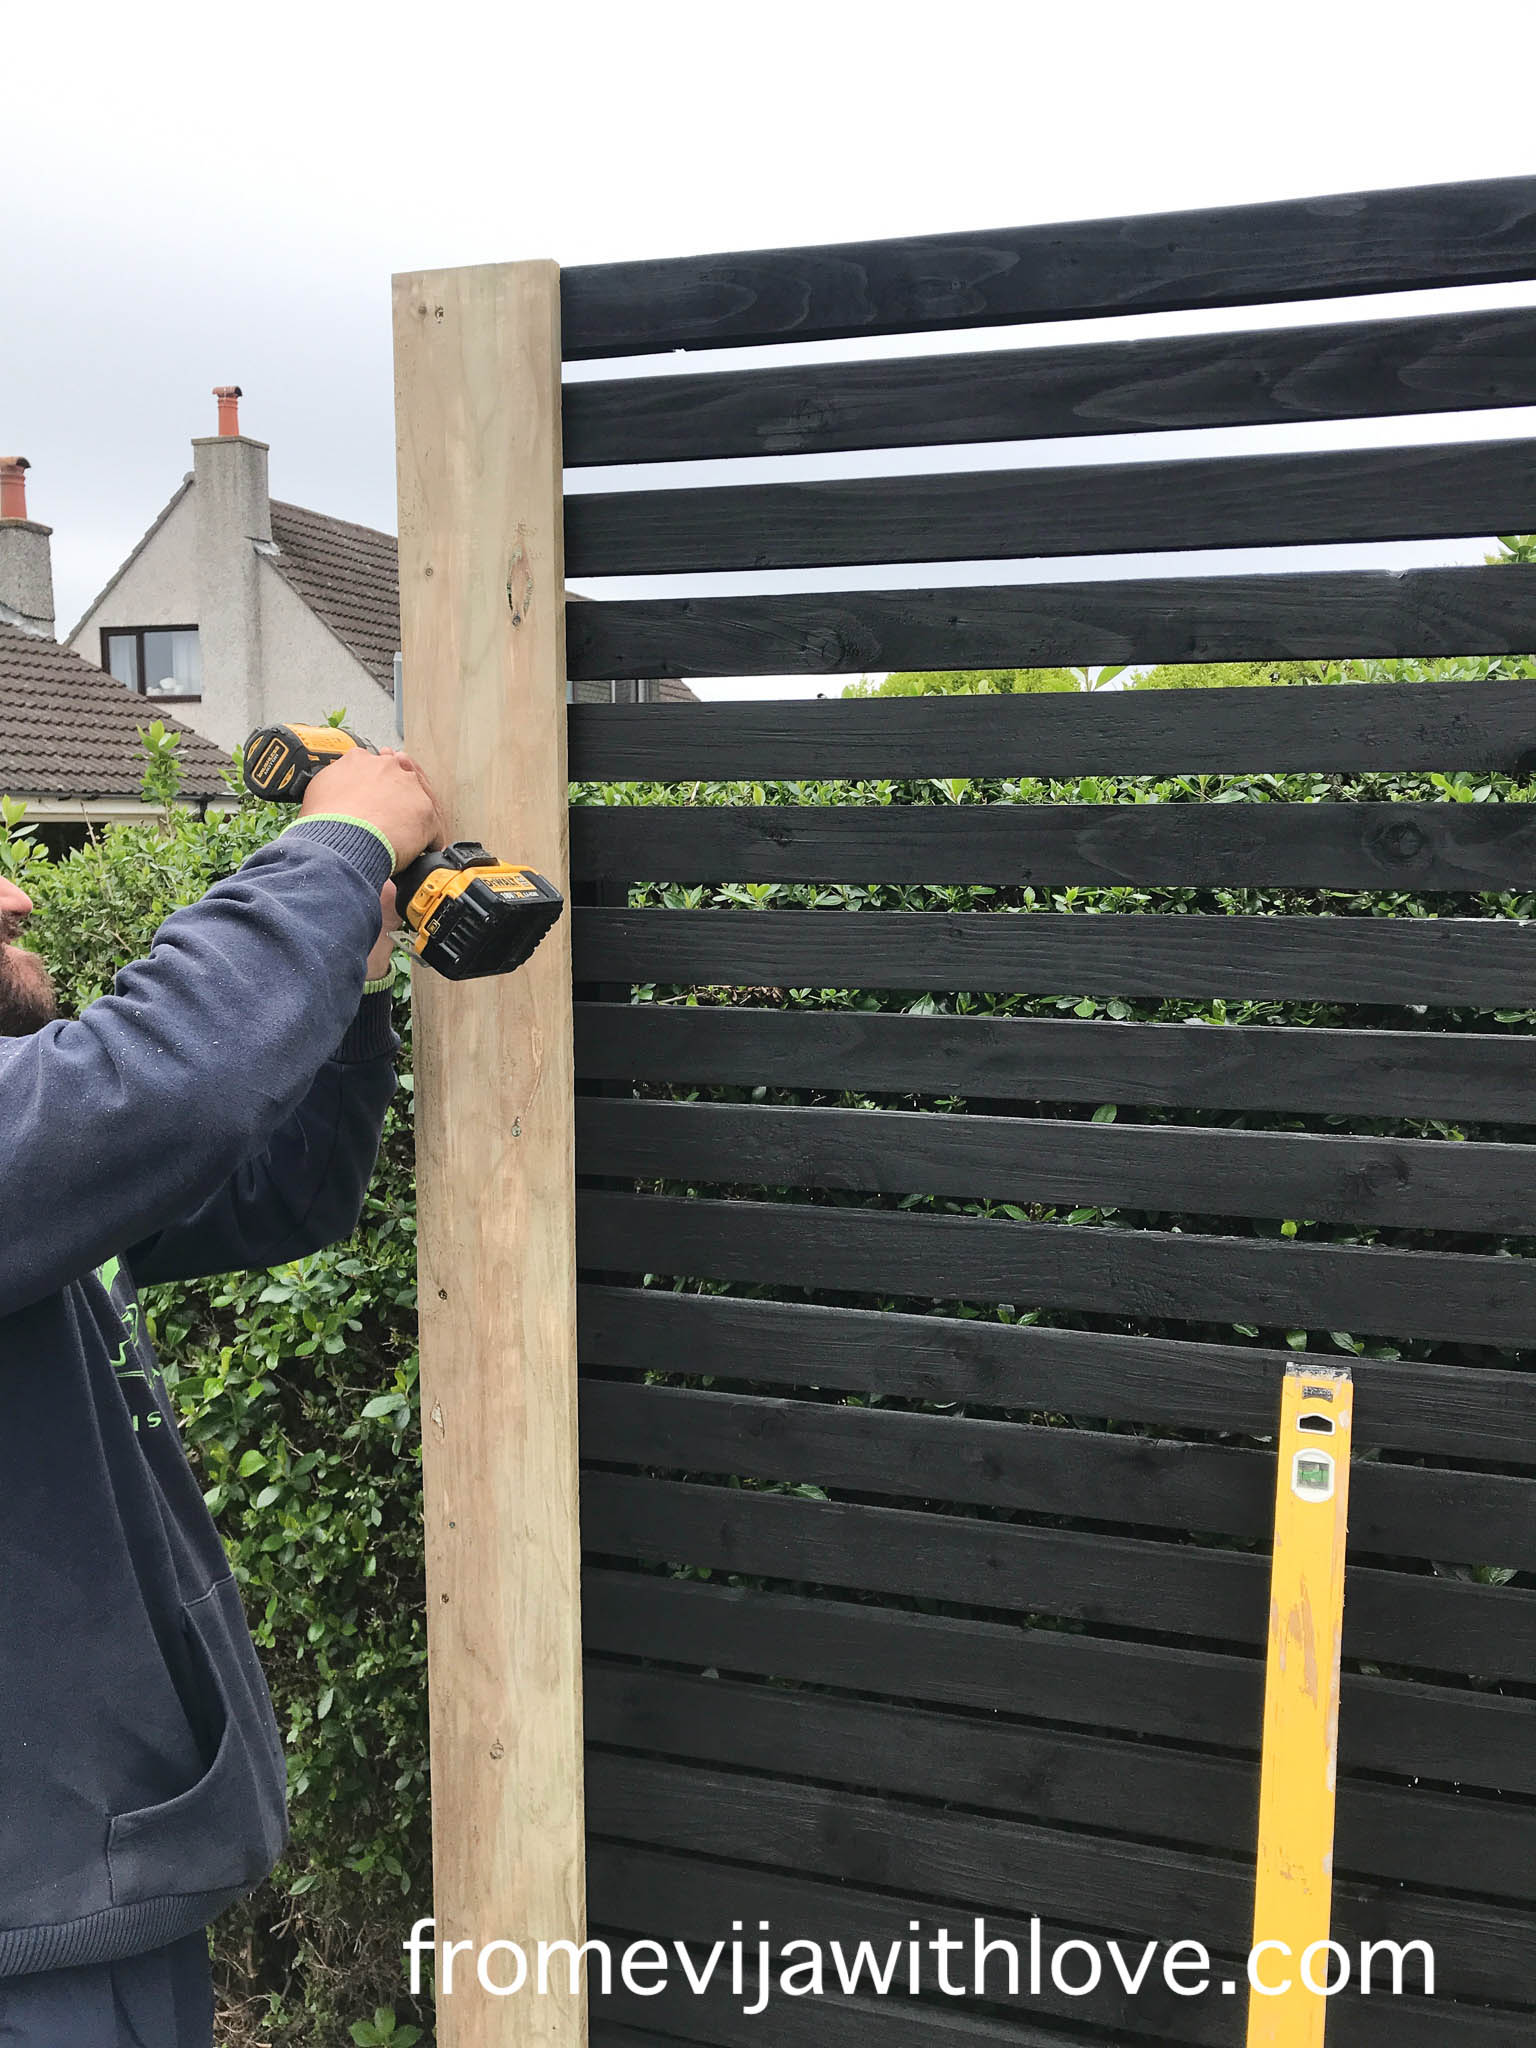
The longer side of the screen was over 5 m long, so it indicated the longer screen would need to have a couple of cuts, so we chose to make a ‘function’ wall where the barbeque would go and include a wood panel to camouflage the joint. We included side panels to cover the edges.
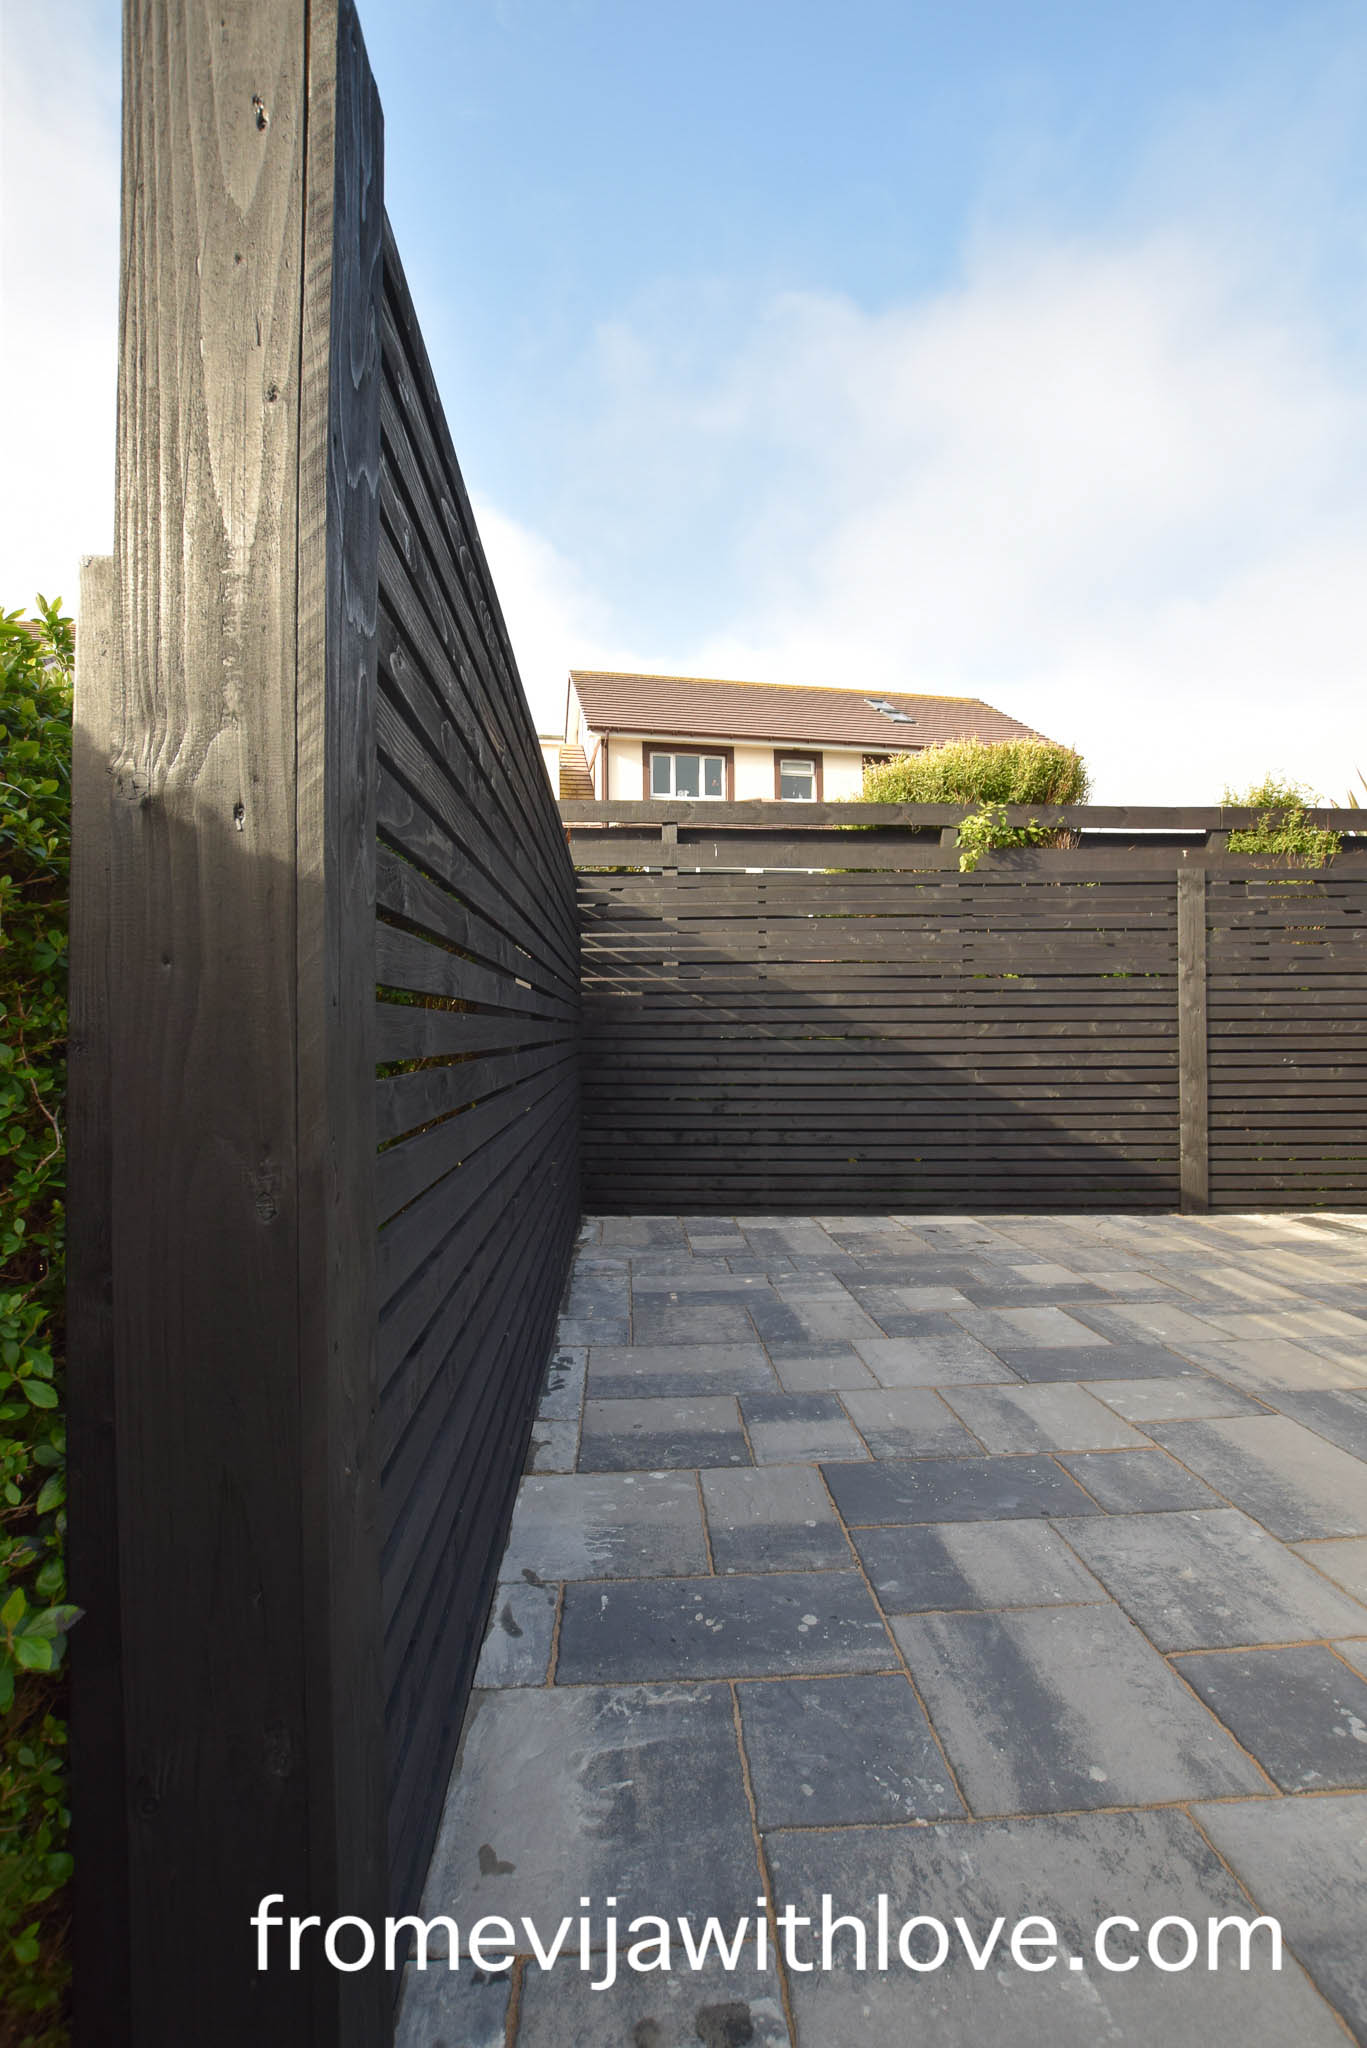
Does not our personal privacy screen appearance stunning??