

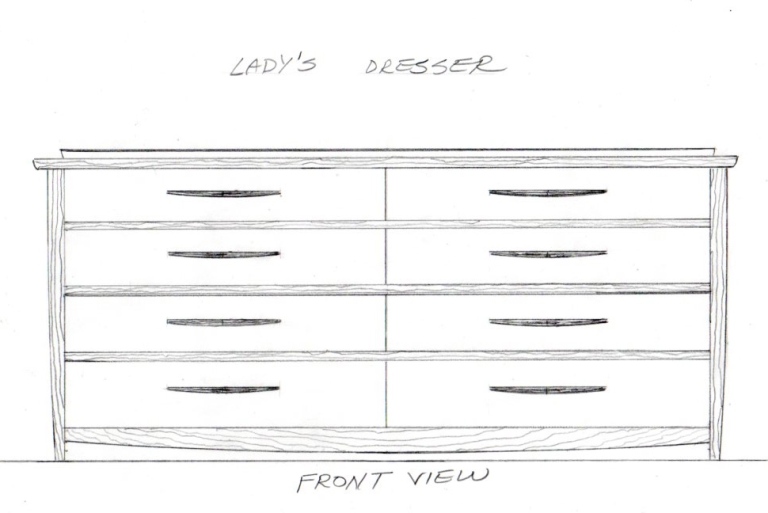
8 Drawer Dresser – An Experiment In Joinery & Design (Part 1)
I am extremely grateful for the lots of customers I have who enable me a large degree of flexibility to check out brand-new styles and strategies in the furnishings I develop for them. This latitude keeps the work fresh and fascinating and assists to encourage me on those days when I wish to be doing something else besides earning a living.
I have actually constantly preferred operating in strong wood rather than dealing with veneers. I like having the ability to shape, taper, and airplane strong wood understanding that it is the exact same gorgeous things all the method through. At the exact same time there is a lot of veneered furnishings that I am influenced by and discover visually enticing. Art Deco is one duration that falls under this classification for me. Vibrant, abundant, energetic, and classy are all detailed of Deco furnishings, and much of the ornamental effect discovered in it is accomplished through using eye capturing veneers.
I wished to reveal some Deco affects in the piece I am presently constructing, however I likewise wished to make it in strong wood. To accomplish this objective I chose to try out signing up with contrasting pieces of strong woods to one another along some deco influenced curved lines. On paper my styles looked smooth and basic, however in fact attaining them showed to be more tough than the illustrations may recommend.

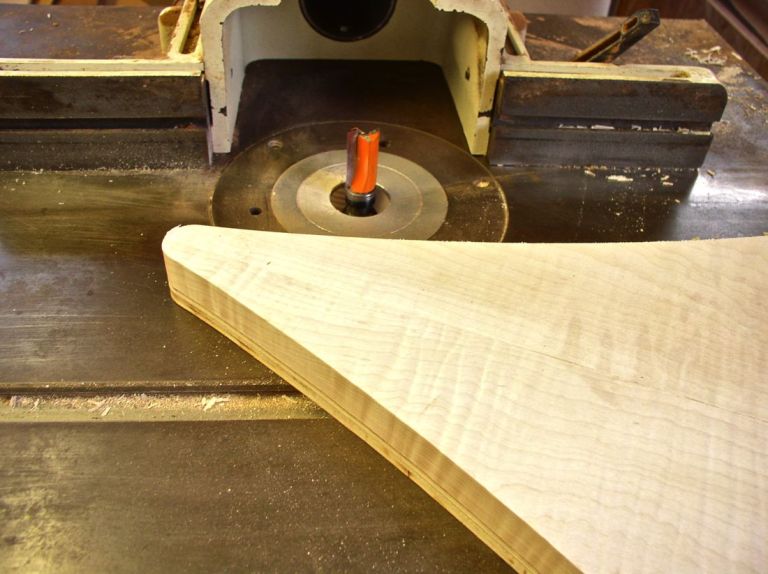
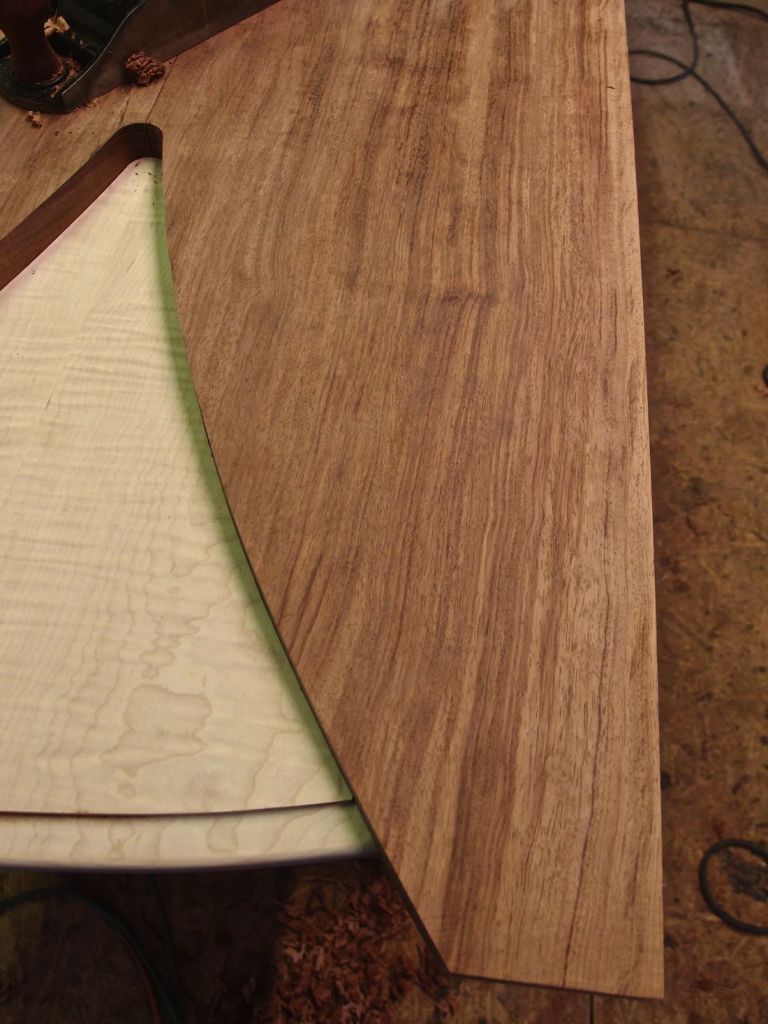
To completely mate the fan shaped curly maple pieces to the bubinga in the sides of this cabinet needed that I make initially make matching patterns that might be connected to my parts with double stick tape and after that cutting the parts to precise size with a pattern making bit. If there are readers who wish to understand more about how to develop breeding patterns, leave me a message with your demand, and I will do a different post on how to produce the patterns, a rather included however not particularly challenging procedure.

Due to the fact that strong wood is constantly broadening or contracting to adjust to the relative humidity, it is necessary to plainly comprehend that when producing breeding parts in strong wood, the grain needs to be running the exact same instructions in both parts. Because the grain in the bubinga will be running vertically, the grain in the curly maple need to likewise run in the exact same instructions. To do otherwise would be to court catastrophe due to the fact that of wood motion.
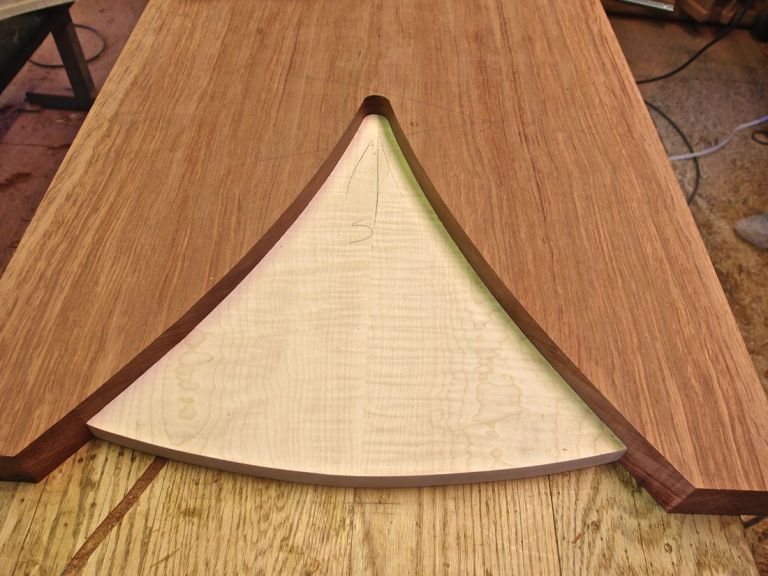
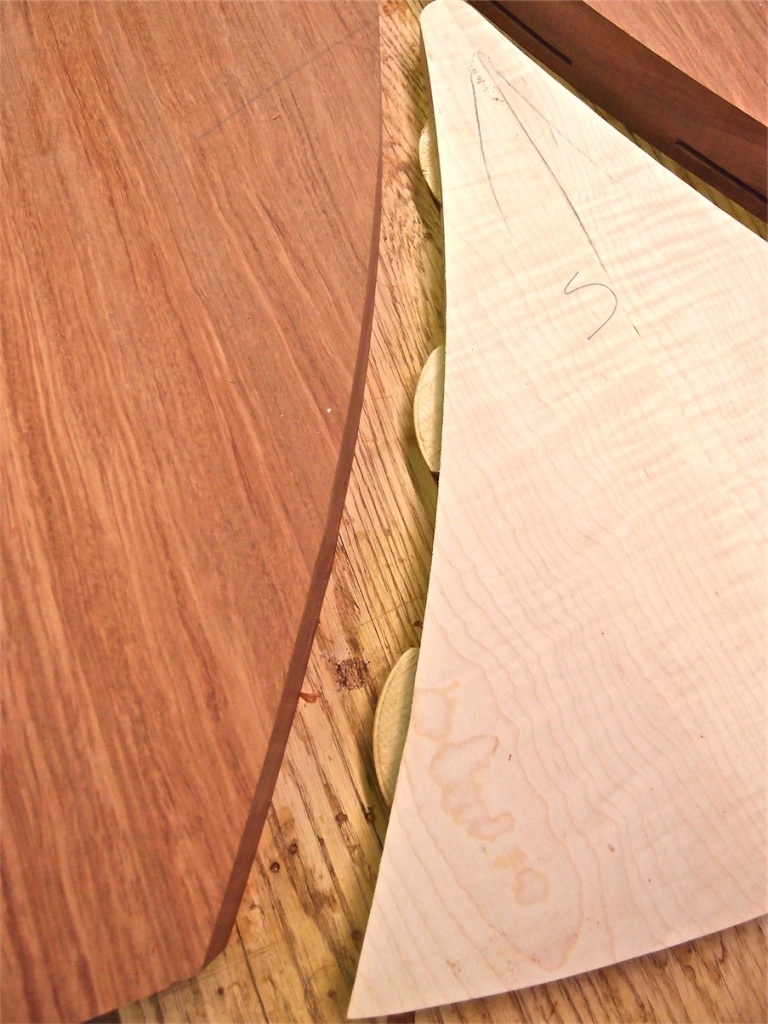
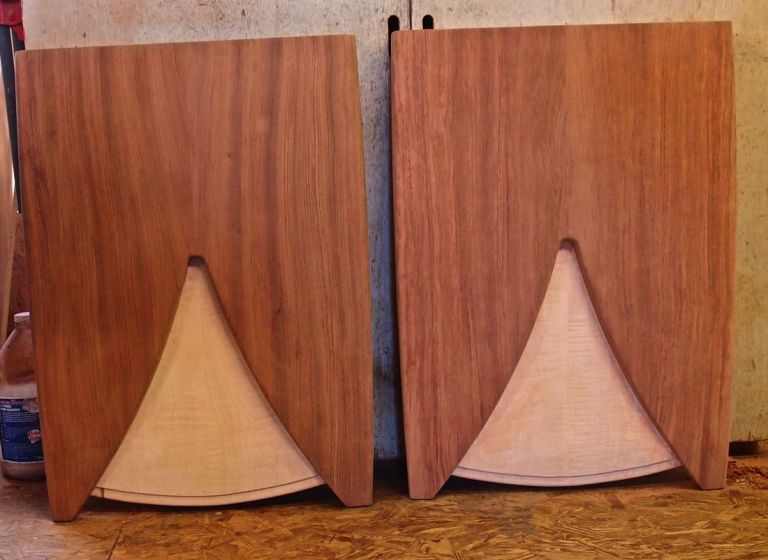
Once I had my completely matched pieces, I strengthened their breeding edges with wood biscuits and glued them together.
Successive was to put a sophisticated curving taper in my sides from leading to bottom. The only method I might determine to accomplish this was to hand airplane the taper, a tiresome and difficult job in strong bubinga which is tough as iron and vulnerable to tear-out. To relieve the discomfort of this procedure I started with an electrical hand planer to get rid of the bulk of the product.

When I got near the line I had actually made use of the edge, I changed from the electrical airplane to an extremely sharp hand airplane.


This surface area has actually been planed, scraped smooth, and is prepared for sanding.
The resulting tapered sides looked excellent. What beautiful portions of strong wood!
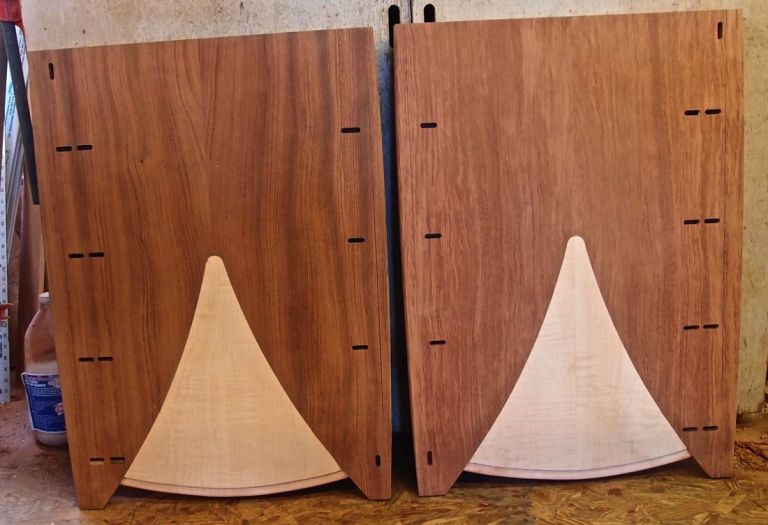
Next. I now needed to make frames for the drawers of this cabinet to ride on and after that do the mortise and tenon joinery to connect these frames to the sides. This was a procedure needing severe precision. I will not bore anybody with the information besides to state I utilized plywood spacers to find the precise position for the mortises cut in each side. The mortises were produced utilizing a Festool Domino joiner.
Now I had the ability to glue up my frames to the cabinet sides, a rather stress and anxiety producing occasion!

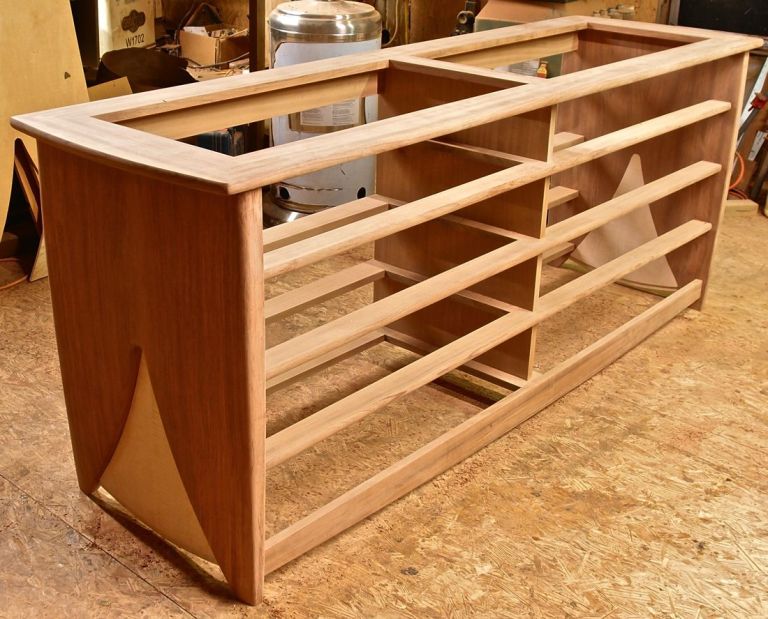
Notification how the grain in the stretchers that link the front and back frame parts runs in the exact same instructions as the grain in the sides of the cabinet. It is very important to keep the grain in all these parts running in the exact same instructions to accommodate motion in strong wood.

Here is shot of the of the cabinet waiting for drawers and a top. Wow! This has actually been something like genuine work, however I like it, strong wood throughout and developed to sustain!
Next post (coming soon) will be on drawers, pulls, and the top of the cabinet. This is going to be a cool piece. Do not miss it!

Source link
